Easy Strawberry Tiramisu
Patricia
April 15, 2024
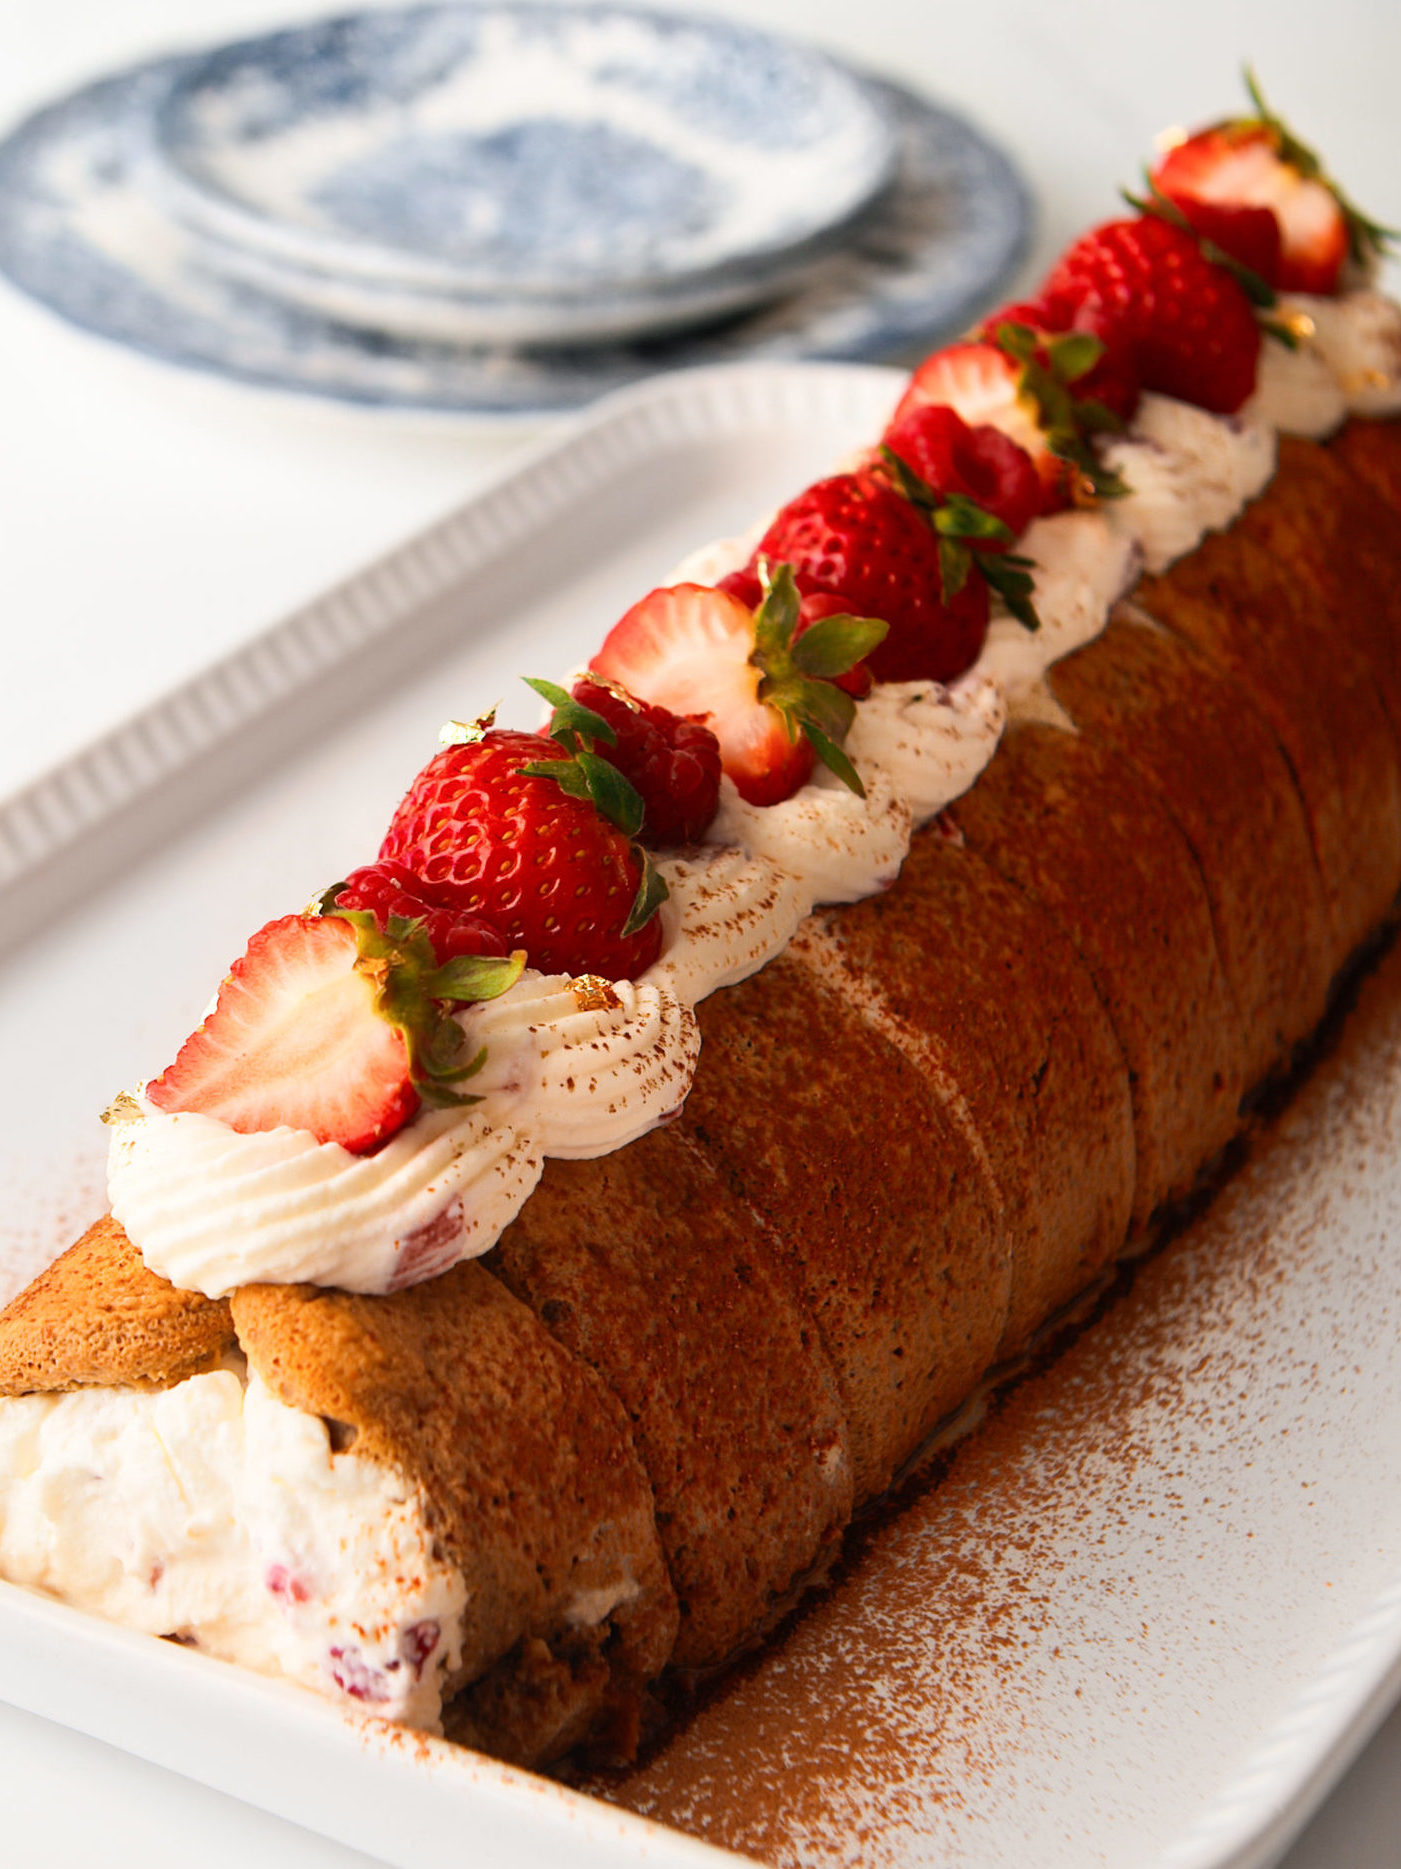


Easy Strawberry Tiramisu
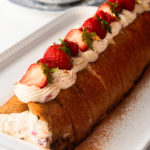
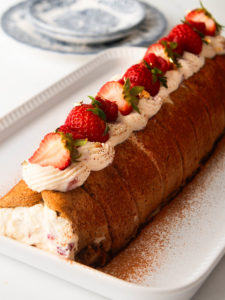
This Easy Strawberry Tiramisu recipe is a delicious twist on the classic, traditional tiramisu. Coffee dipped lady fingers layered with whipped mascarpone cream and fresh strawberries. It's as luscious and creamy as it sounds!
Ingredients
- 7 ounces Savoiardi lady fingers
- 2 cups coffee or espresso
- 1 cup strawberries for garnish
- 1 cup raspberries for garnish
- 1 Tablespoon cocoa powder for garnish
For the filling:
- 8 ounces mascarpone cold
- 2 cups heavy whipping cream cold
- 1 cup fresh strawberries diced
- 1/2 cup powdered sugar
Instructions
- Please read through the directions once before beginning. Go back and read my blog post for helpful, extended instructions with photos and notes.
Arrange the layers.
- Lay down a large layer of plastic wrap on a clean working surface. I created two layers overlapping each other to make a big sheet. The plastic wrap is what we use to lift and form the shape of the log cake. It's important to give yourself enough plastic wrap to hold onto, at least 5 inches on all sides in order to tightly secure the cake together without smashing the delicate layers.

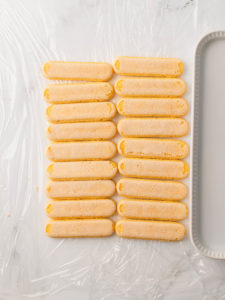
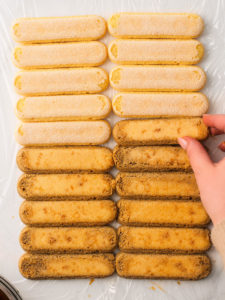
- Pick a serving tray for your cake. After laying down the plastic wrap, place the serving tray next to the plastic wrap, in the center, and arrange your lady fingers in two rows, long enough to fit in the tray. Be mindful, the lady fingers expand a little bit from the coffee.Note: as I said before, this cake is very moist and soft. The same tray you use to chill the cake on should be the same tray you serve the cake. The cake cannot be moved around like a traditional cake.7 ounces Savoiardi lady fingers
- Dip each lady finger into the coffee. A quick 3 second dip is perfect. The lady fingers should not be soaking wet and falling apart.2 cups coffee or espresso
- Cover with plastic wrap. Wait for at least 15 minutes while the lady fingers soften up as they soak up the coffee. If after this time, the lady fingers seem crunchy, use a pastry brush to add a little extra coffee or milk.
Make the cream filling.
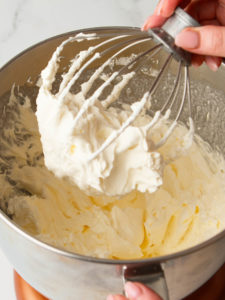
- While the lady fingers are resting, make the cream filling. Add the cold heavy whipping cream, mascarpone, powdered sugar and pinch of salt into a mixing bowl. Using an stand mixer with whisk attachment or an electric hand held mixer to mix on medium-high speed until stiff peaks form. This should take at least a few minutes. Don't rush it.8 ounces mascarpone, 2 cups heavy whipping cream, 1/2 cup powdered sugar
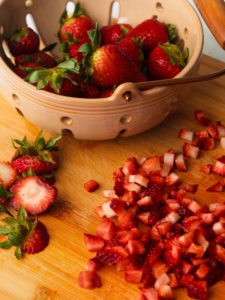
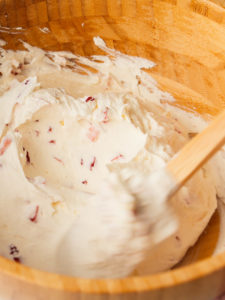
- Fold in diced strawberries and save about 1 ½ cups of the filling aside for decorating the top. Place the cream filling in the refrigerator to chill as you wait for the lady fingers to soften up.Note: if you don't have a large piping tip big enough for the diced strawberries to pass through, set aside the filling BEFORE adding the strawberries.1 cup fresh strawberries
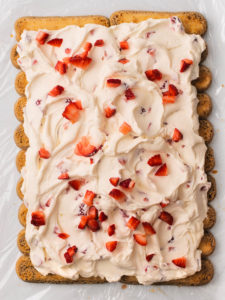
- Spread the cream filling on top of the lady fingers, leaving a 1/2 inch border along all sides. Sprinkle a handful of diced strawberries on top of the filling for good measure.
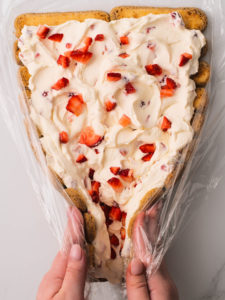
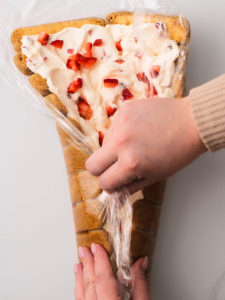
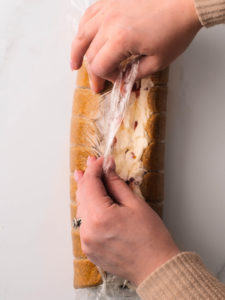
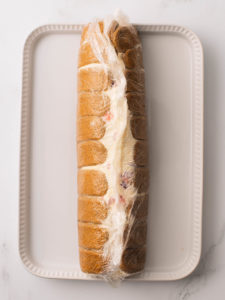
- Starting on one side, use the plastic wrap to fold up both sides and towards the center, creating a large log. Using your forearms to fold the log between your two arms is the best way to secure the fingers in place. Wrap the excess plastic wrap over the log, securing the layers.
Chill time.
- Carefully transfer to your designated serving tray and refrigerator, along with the filling set aside for garnishing, for at least 3 hours.
Removal and assembly.
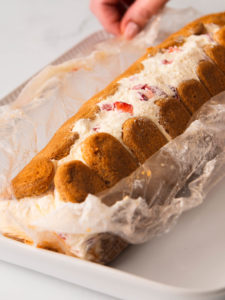
- When you are ready to serve, gently remove the plastic wrap from the top of the cake first.
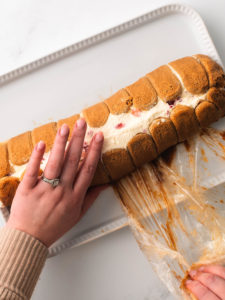
- Hold the log cake and gently lift a portion of the cake as you slowly pull out the plastic wrap from underneath. This cake is delicate and needs a little extra attention in this part.
- Continue gently removing the plastic wrap while holding the cake in place. There may be a little coffee leakage in this step and that's okay. Don't worry about any cracks either. This is what the cocoa powder and extra fruit is for!
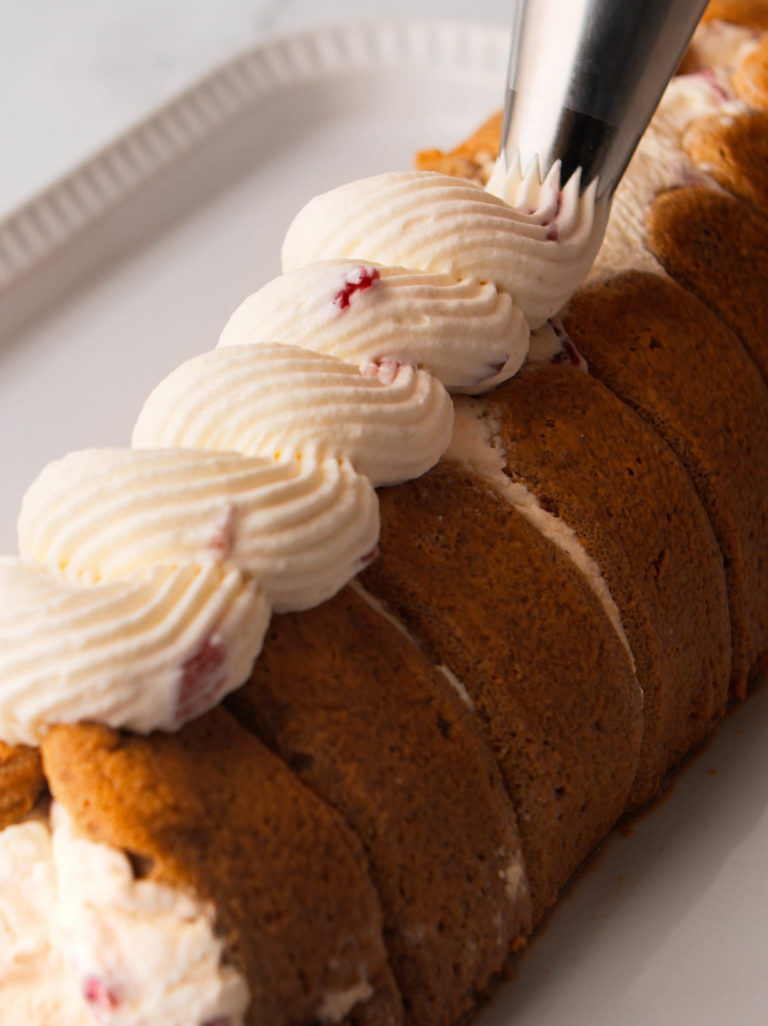
- Transfer the cream that was set aside into a large piping bag with an open star tip. See notes above in blog post for my exact tools. Pip over the center of the entire log cake in a design of your choice.
- Garnish the top with a single layer of alternating raspberries and strawberries. Use any leftover fruit on the sides if there was cracking in the process of removing the plastic wrap. Dust the sides with cocoa powder. Best served immediately.1 cup strawberries, 1 Tablespoon cocoa powder

Nutrition
Calories: 351kcalCarbohydrates: 8gProtein: 4gFat: 34gSaturated Fat: 21gPolyunsaturated Fat: 1gMonounsaturated Fat: 3gCholesterol: 86mgSodium: 35mgPotassium: 36mgSugar: 7gVitamin A: 1167IUVitamin C: 0.2mgCalcium: 88mgIron: 0.04mg
The provided nutritional value above is an estimate per serving. 100% accuracy is not guarenteed. Please see Nutrition Information Disclaimer in our Privacy Policy.
Nutrition Information Disclaimer Have you tried this recipe?Please leave a comment/review below!
5
from
4
Reviews
This is so freakin’ good! My family are obsessed with it! I make this every other week now because it became our favorite!