Butter Biscuits
Pass the biscuits.
There is something special about homemade butter biscuits around the table. It has a magical way of making everyone feel comfortable and safe in its presence. Flaky, tender and simply irresistible.
Why you'll love my recipe.
Freshness
There’s nothing like freshly made biscuits, especially homemade with no added preservatives.
Healthier ingredients
You control the quality of ingredients like flour and butter. It makes all the difference in texture and flavor.
What is lamination and why is it important?
What makes a croissant so irresistibly flaky, buttery and light is because of lamination. Lamination is a pastry making technique used to create layers in dough, resulting in those iconic, flaky textures we enjoy in most baked goods. It’s process that involves folding and rolling dough with layers of butter. It’s a fundamental technique that requires precision and patience to achieve the desired results but boy, is it worth every bite.
How to laminate.
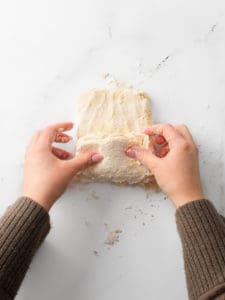
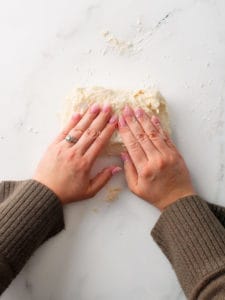
Flatten the dough into a rectangle, about 3/4 inch thick. Fold into thirds. Take one side into the center and the other side over. Rotate the dough 90 degrees. Flatten again into about 3/4 inch thick rectangle. Repeat the layering and rotating steps at least 4 times.
How to make butter biscuits.
Combine the dry ingredients
Use a large bowl to whisk together the dry ingredients.
Cut the butter
Frozen, cold butter is what helps create those layers of lamination and yield the most fluffy biscuits. I found that freezing the butter before and after grating works wonders.
Mix in the milk
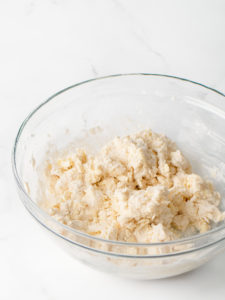
Cold, cold milk is vital. Make a well in the center, add cold milk and use a fork to roughly mix until the milk is absorbed. You may still see small areas or pockets of flour and that’s okay. Over-working the dough will melt the cold butter you worked hard to maintain. In this case, shaggy dough is a good thing.
Shape and layer the dough
This process is just as important as cold butter and cold milk. Without creating those multiple layers of butter and dough, you’re unfortunately left with flat and unimpressive biscuits.
Bake
This is the best part. It needs no introduction.
Variation to homemade butter biscuits.
There are many variations when it comes to a basic recipe like biscuits. I like to make the classic version because they can be enjoyed with a nice slab of butter and jam or along side sausage and gravy. But if you’re looking for something different, here are a few of my favorite add-ins to add when first mixing the dough:
- Bacon and cheddar
- Cheddar and chive
- Garlic and herb
- Cheddar and jalapeño
- Cinnamon
Storing leftovers.
Like any other freshly, baked good or pastry, these butter biscuits are best baked and served same day. If you plan to freeze now and bake later, after cutting out your biscuits, arrange them on a parchment lined baking sheet. Cover with plastic wrap and transfer to the freezer. Once the biscuits are frozen, transfer them to a gallon size freezer bag or airtight container. Label and date for optimal freshness. Store the frozen biscuit dough for up to 2 months. When ready, simply remove from the freezer and bake. May need to bake an additional 3-4 minutes.
Looking for other bread recipes?
Your feedback is valuable to us. If you have any questions, please let me know in the comments. If you try my recipes and love them, please take a moment to leave a five star review. Thank you for being part of the Bake Cook Repeat community! Don’t forget to follow us on Facebook, Instagram, Pinterest and Subscribe on YouTube.

Butter Biscuits
Patricia Martinescu from Bake Cook RepeatIngredients
- 2 cups all-purpose flour spooned and leveled
- 3/4 cup whole milk cold
- 8 Tablespoons unsalted butter chilled
- 1 Tablespoon baking powder
- 1 Tablespoon granulated white sugar
- 1/2 teaspoon sea salt
Instructions
- Pre-heat the oven 425°F / 218°C. Place a stick of butter in the freezer for 20 minutes.
- Combine flour, sugar, baking powder and salt in a large mixing bowl and whisk together. Set aside.2 cups all-purpose flour, 1 Tablespoon baking powder, 1/2 teaspoon sea salt, 1 Tablespoon granulated white sugar
- Remove the butter from the freezer, grate into a plate and place back into the freezer for an additional 20 minutes.
- Add the cold, grated butter to the dry ingredients bowl and mix lightly to coat.8 Tablespoons unsalted butter
- Make a well in the center, add cold milk and use the fork to toss the ingredients until the dough comes together and the liquid is absorbed with the dry. Do not over-mix. We are going for a shaggy dough ball, not a formed, well-incorporated ball.3/4 cup whole milk
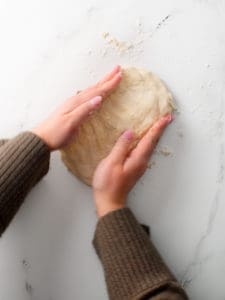
- Pour the dough and any dough crumbles onto a clean, well-floured surface. It will look very scrappy. The dough may become sticky the more you work with it. If the dough becomes sticky in some areas, add a bit of flour over the surfaces until it is manageable. Use your hands to gently bring the dough together into a cohesive rectangle.
- This next step is called lamination, where you create multiple lavers of butter and dough through folding. But be mindful, the more you work with the dough, there is a risk that the butter formed in each layer will melt. Don't overmix or don't overwork the dough. Flatten the dough into a rectangle, about 3/4 inch thick. Fold into thirds. Take one side into the center and the other side over. Rotate the dough 90 degrees. Flatten again into about 3/4 inch thick rectangle. Repeat the layering and rotating steps at least 4 times.
- After you've repeated the lamination layering at least 4 times, use your hands to flatten out to about 3/4 inch thickness. Use a rolling pin to smooth out the surface, not to thin out the dough.
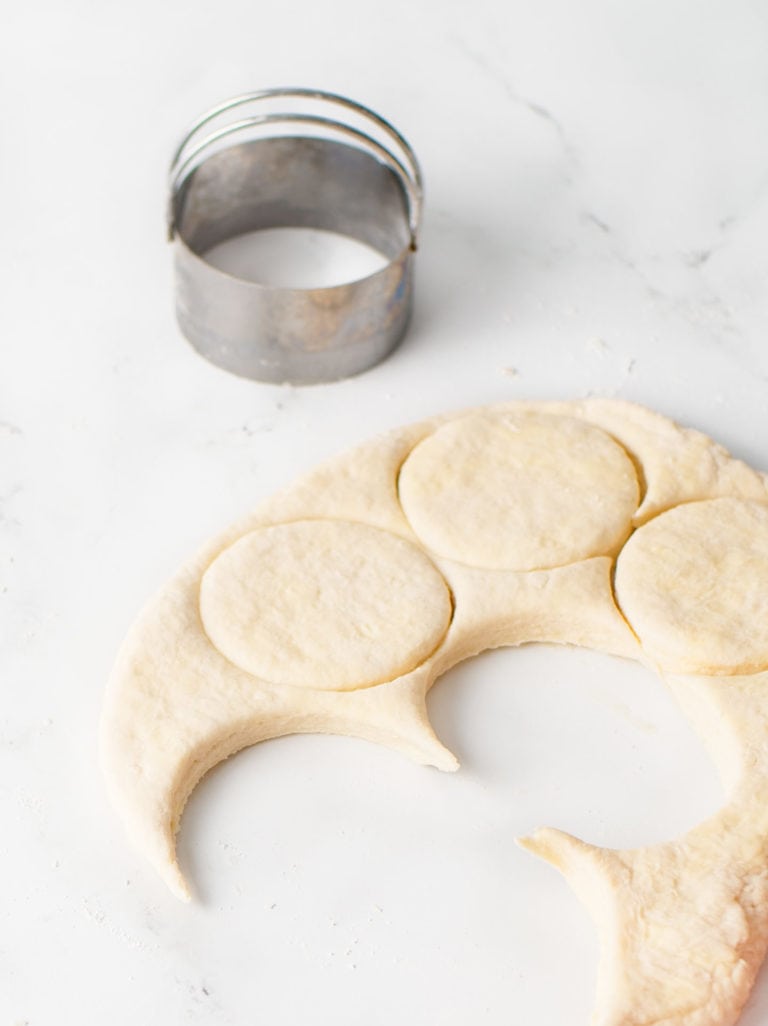
- Cut into about 3 inch circles with a biscuit or cookie cutter to make 8 large biscuits. Form the scraps together to make an additional 2 biscuits but notice, they will not look as perfect as the first batch. When the layering get disrupted like the scraps, the bakes tend to be less than pretty. Feel free to cut the biscuits into larger squares instead to avoid dealing with scraps.
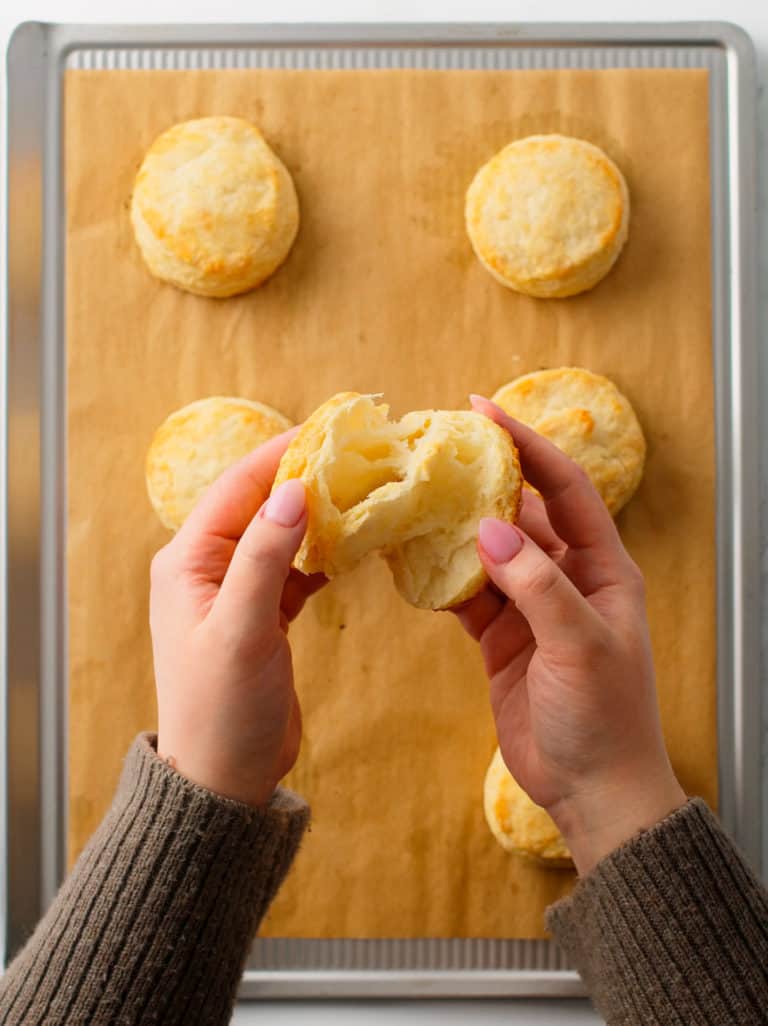
- Place the biscuits onto the un-greased baking sheet. Brush the tops with melted butter. Bake for 14-16 minutes until the edges on the tops are golden. Most of the color will be on the bottom of the biscuits.
Notes
- Freezing the butter twice, before and after grating, gives you the best fool proof chance at those iconic, flaky layers. This step is essential. The moment your hands start forming the dough, body heat starts warming the butter. During baking, the water in those bits of cold butter evaporate into steam, leaving behind air pockets that contribute to the desired flaky texture. The colder, the better.
- If you plan to freeze now and bake later, after cutting out your biscuits, arrange them on a parchment lined baking sheet. Cover with plastic wrap and transfer to the freezer. Once the biscuits are frozen, transfer them to a gallon size freezer bag or airtight container. Store the frozen biscuit dough for up to 2 months. When ready, simply remove from the freezer and bake immediately. May need to bake an additional 3-4 minutes.
- Like any other baked good or pastry, these butter biscuits are best served same day.
Nutrition
The provided nutritional value above is an estimate per serving. 100% accuracy is not guarenteed. Please see Nutrition Information Disclaimer in our Privacy Policy.
Nutrition Information Disclaimer

I made this recipe more times than I can count. Flaky layers every time.