


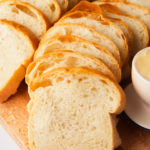
Sandwich Bread
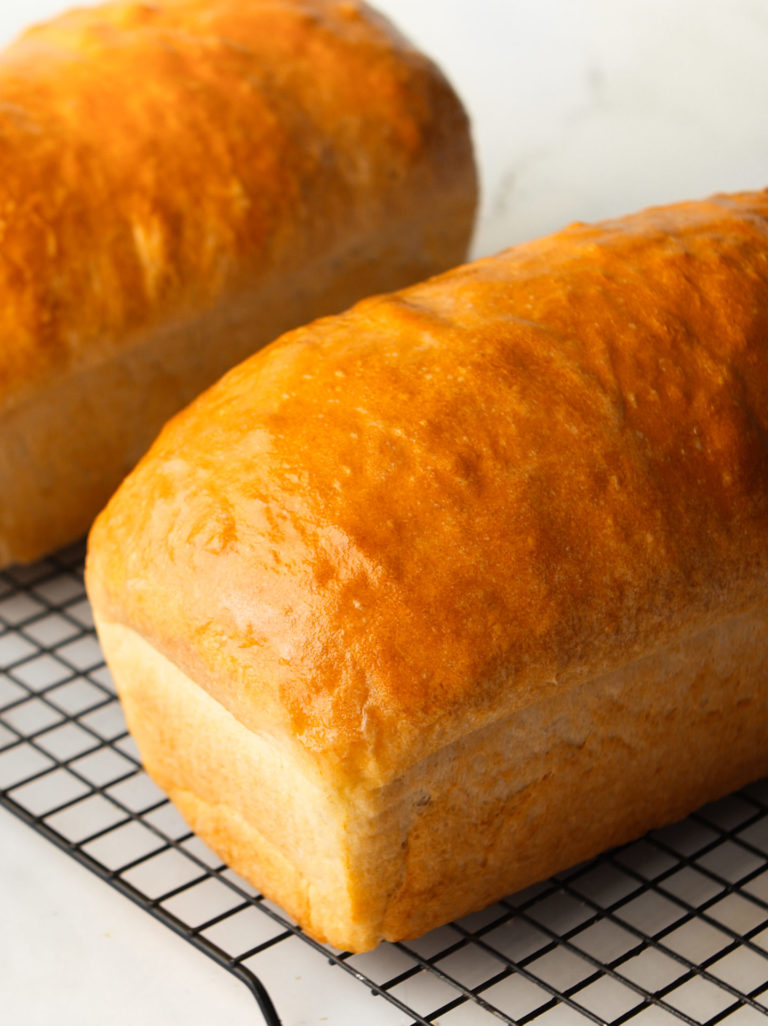
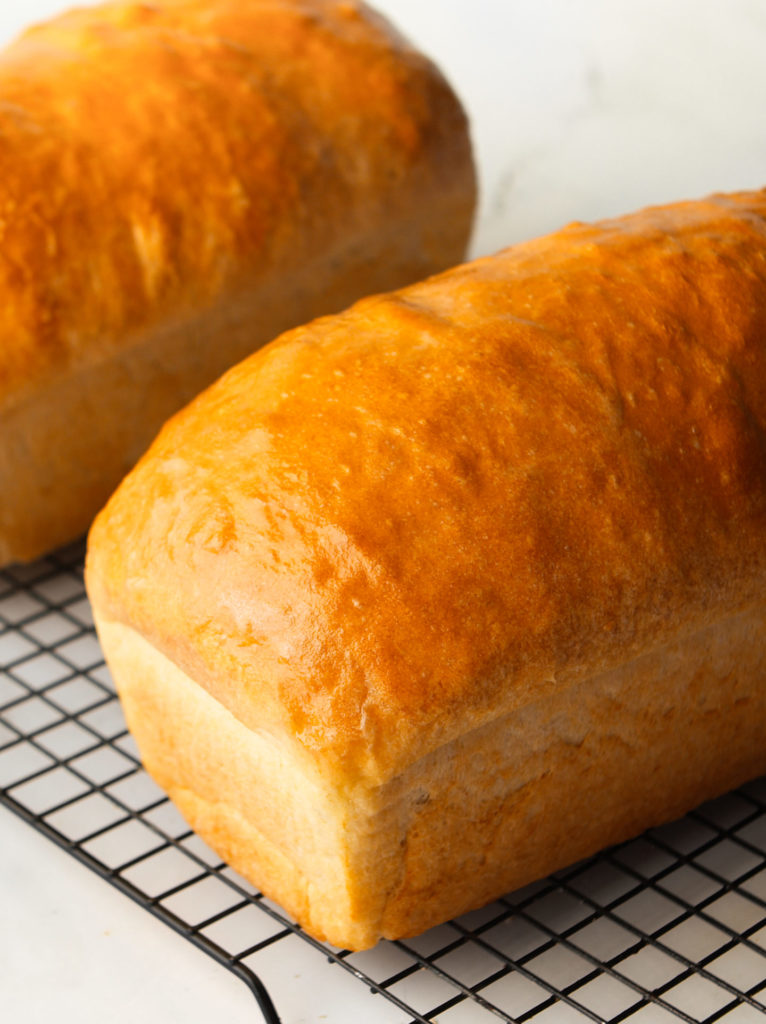
This easy, soft sandwich bread recipe makes two perfectly golden loaves of white bread. Trust me, you're going to thank me later.
Ingredients
- 6½ cups bread flour
- 2 cups lukewarm water (may substitute with 1 cup of milk and 1 cup of water)
- 5 Tablespoons unsalted butter softened
- 2 Tablespoons honey
- 2½ teaspoons instant yeast
- 3 teaspoons sea salt
- 1 Tablespoon unsalted butter for brushing on the bread
- 1 Tablespoon unsalted butter for the loaf tins
Click between "US Customary" or "Metric" button above to switch between conversions. For precise results, it's recommended to weigh your dry ingredients using a digital scale in grams as measuring in cups can have uncertainties.
Instructions
Before you start
- I highly recommend using a kitchen digital scale for measuring flour and milk as both are easily over-measured. Use the toggle button in the ingredients section to switch between cups and grams. If you don’t have a scale, fluff the flour with a fork in its container, and then spoon it into the measuring cup before leveling off with a flat edge.
Prepare the dough
- Add the dry ingredients into the bowl of a stand mixer. Use the dough hook attachment.Note: Toggle between US customary and metric buttons above in the ingredients section for exact flour weight in grams.6½ cups bread flour, 2½ teaspoons instant yeast, 3 teaspoons sea salt
- While the mixer is on, slowly add the warm water, honey and butter last to the yeast mixture. Knead on slow speed for 5-7 minutes until the dry and wet ingredients are fully incorporated, smooth and combined. The dough will start pulling away from the sides of the bowl. The dough will feel tacky but not sticky. Oil your fingers to make handling the dough more manageable.2 cups lukewarm water (may substitute with 1 cup of milk and 1 cup of water), 5 Tablespoons unsalted butter, 2 Tablespoons honey
First rise
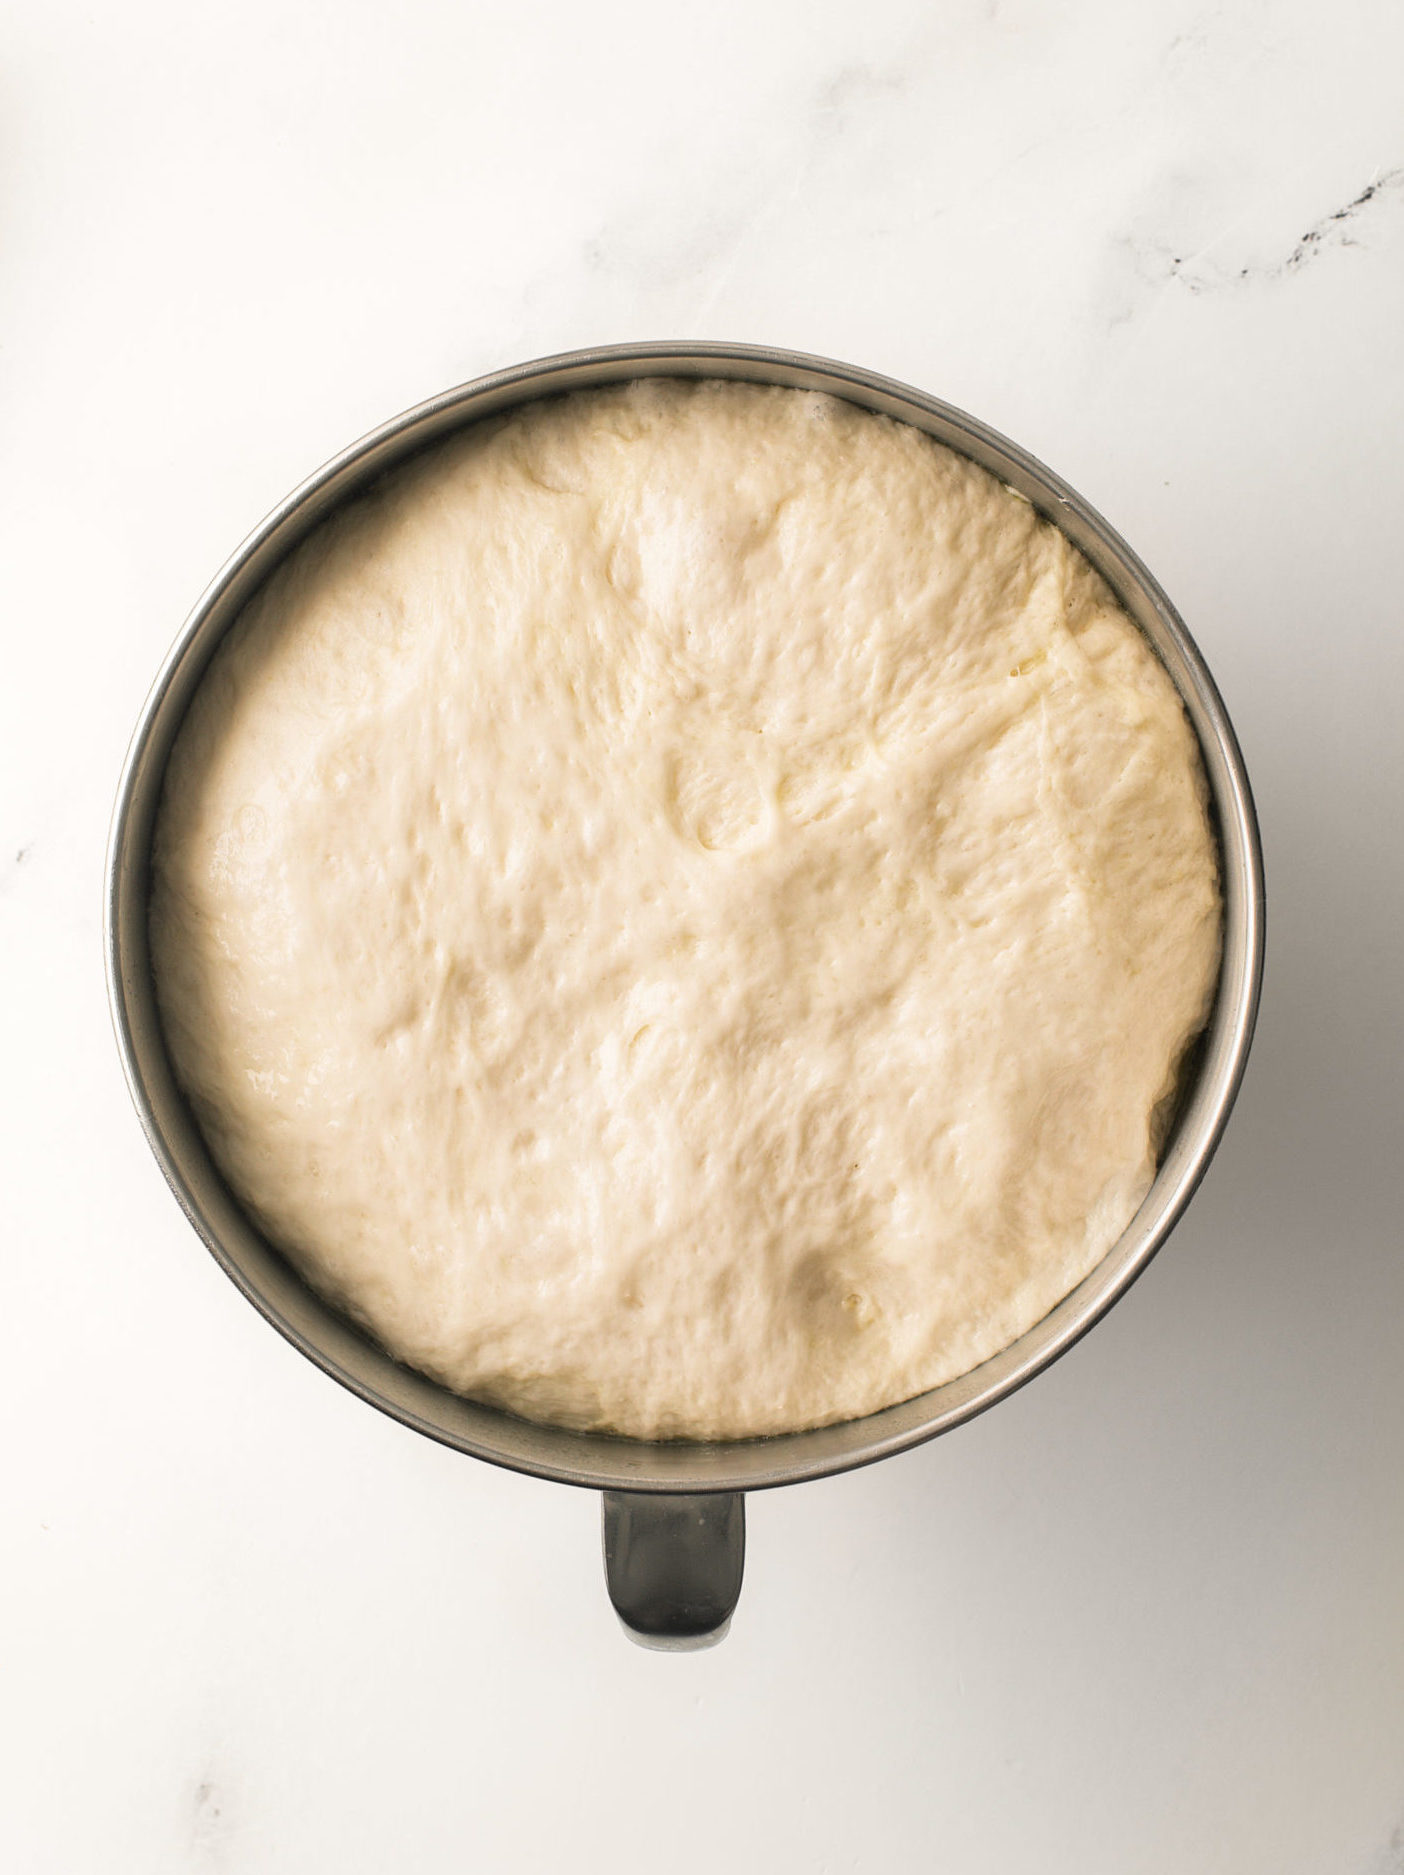
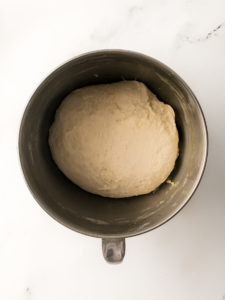
- Remove the dough from the edges of the mixing bowl, form into a round shape and place back into the bowl. Lightly drizzle the bowl edges and dough with oil. Cover with plastic wrap and place in a warm spot for 2 hours until doubled in size. Note: This first rise is called bulk fermentation. It allows the yeast to ferment the dough, developing flavor and helping the gluten structure form.
Shape the dough
- Punch the dough down and transfer to a clean, dry work surface. Do not add flour.
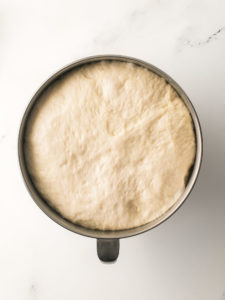
- Divide the dough equally in half, about 670g each. Use a scale for best results. Weigh the entire dough ball, then divide that number by half.
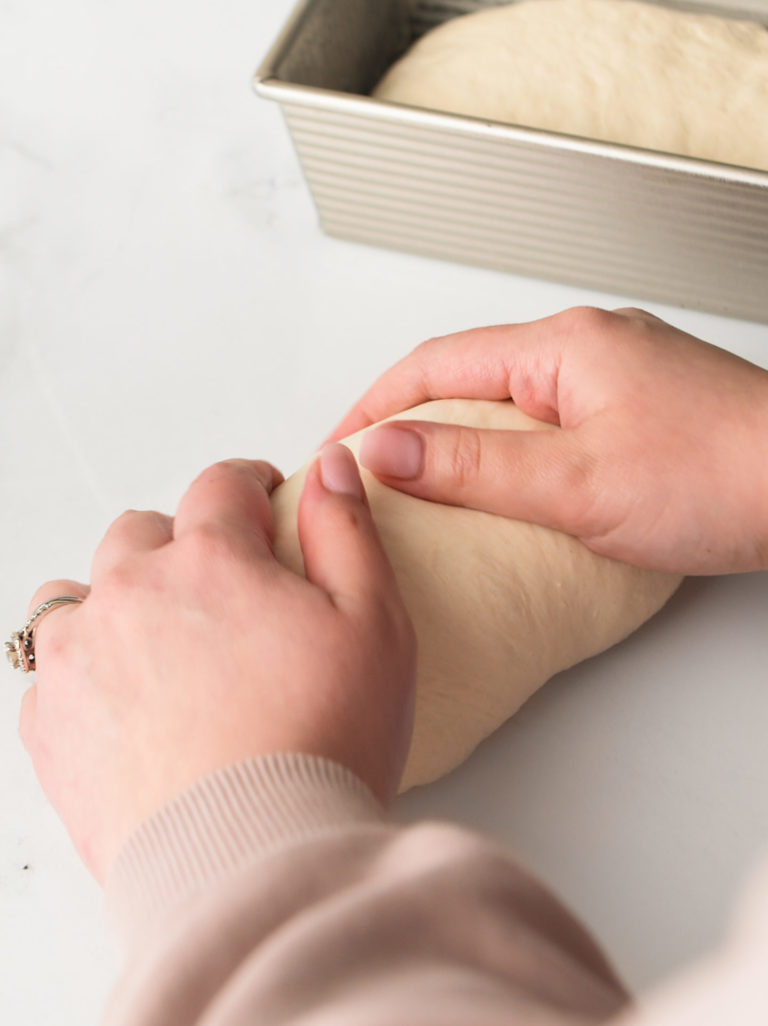
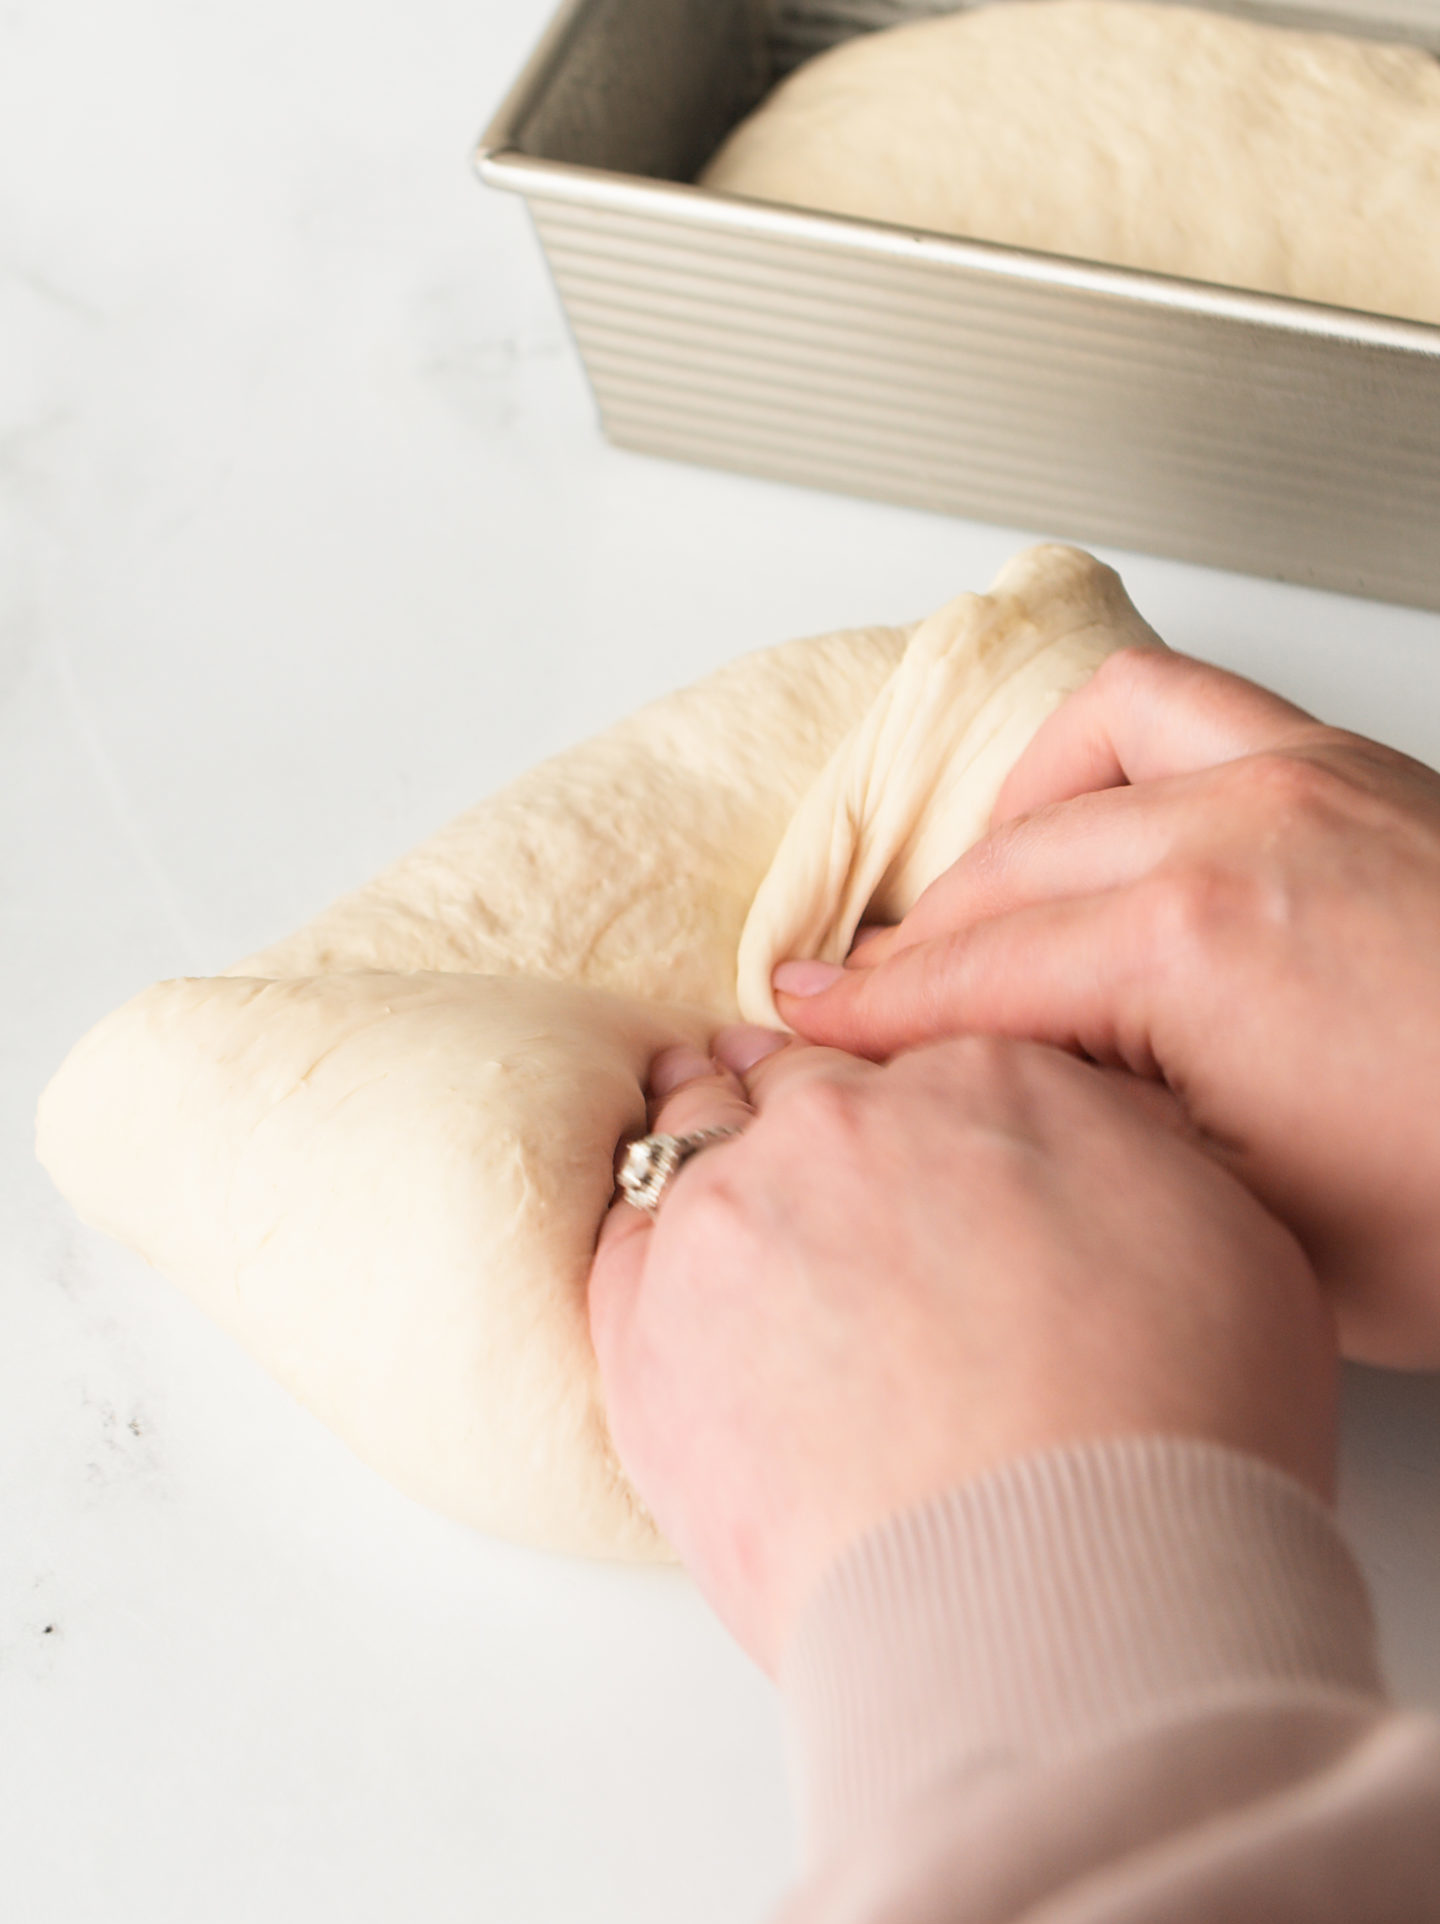
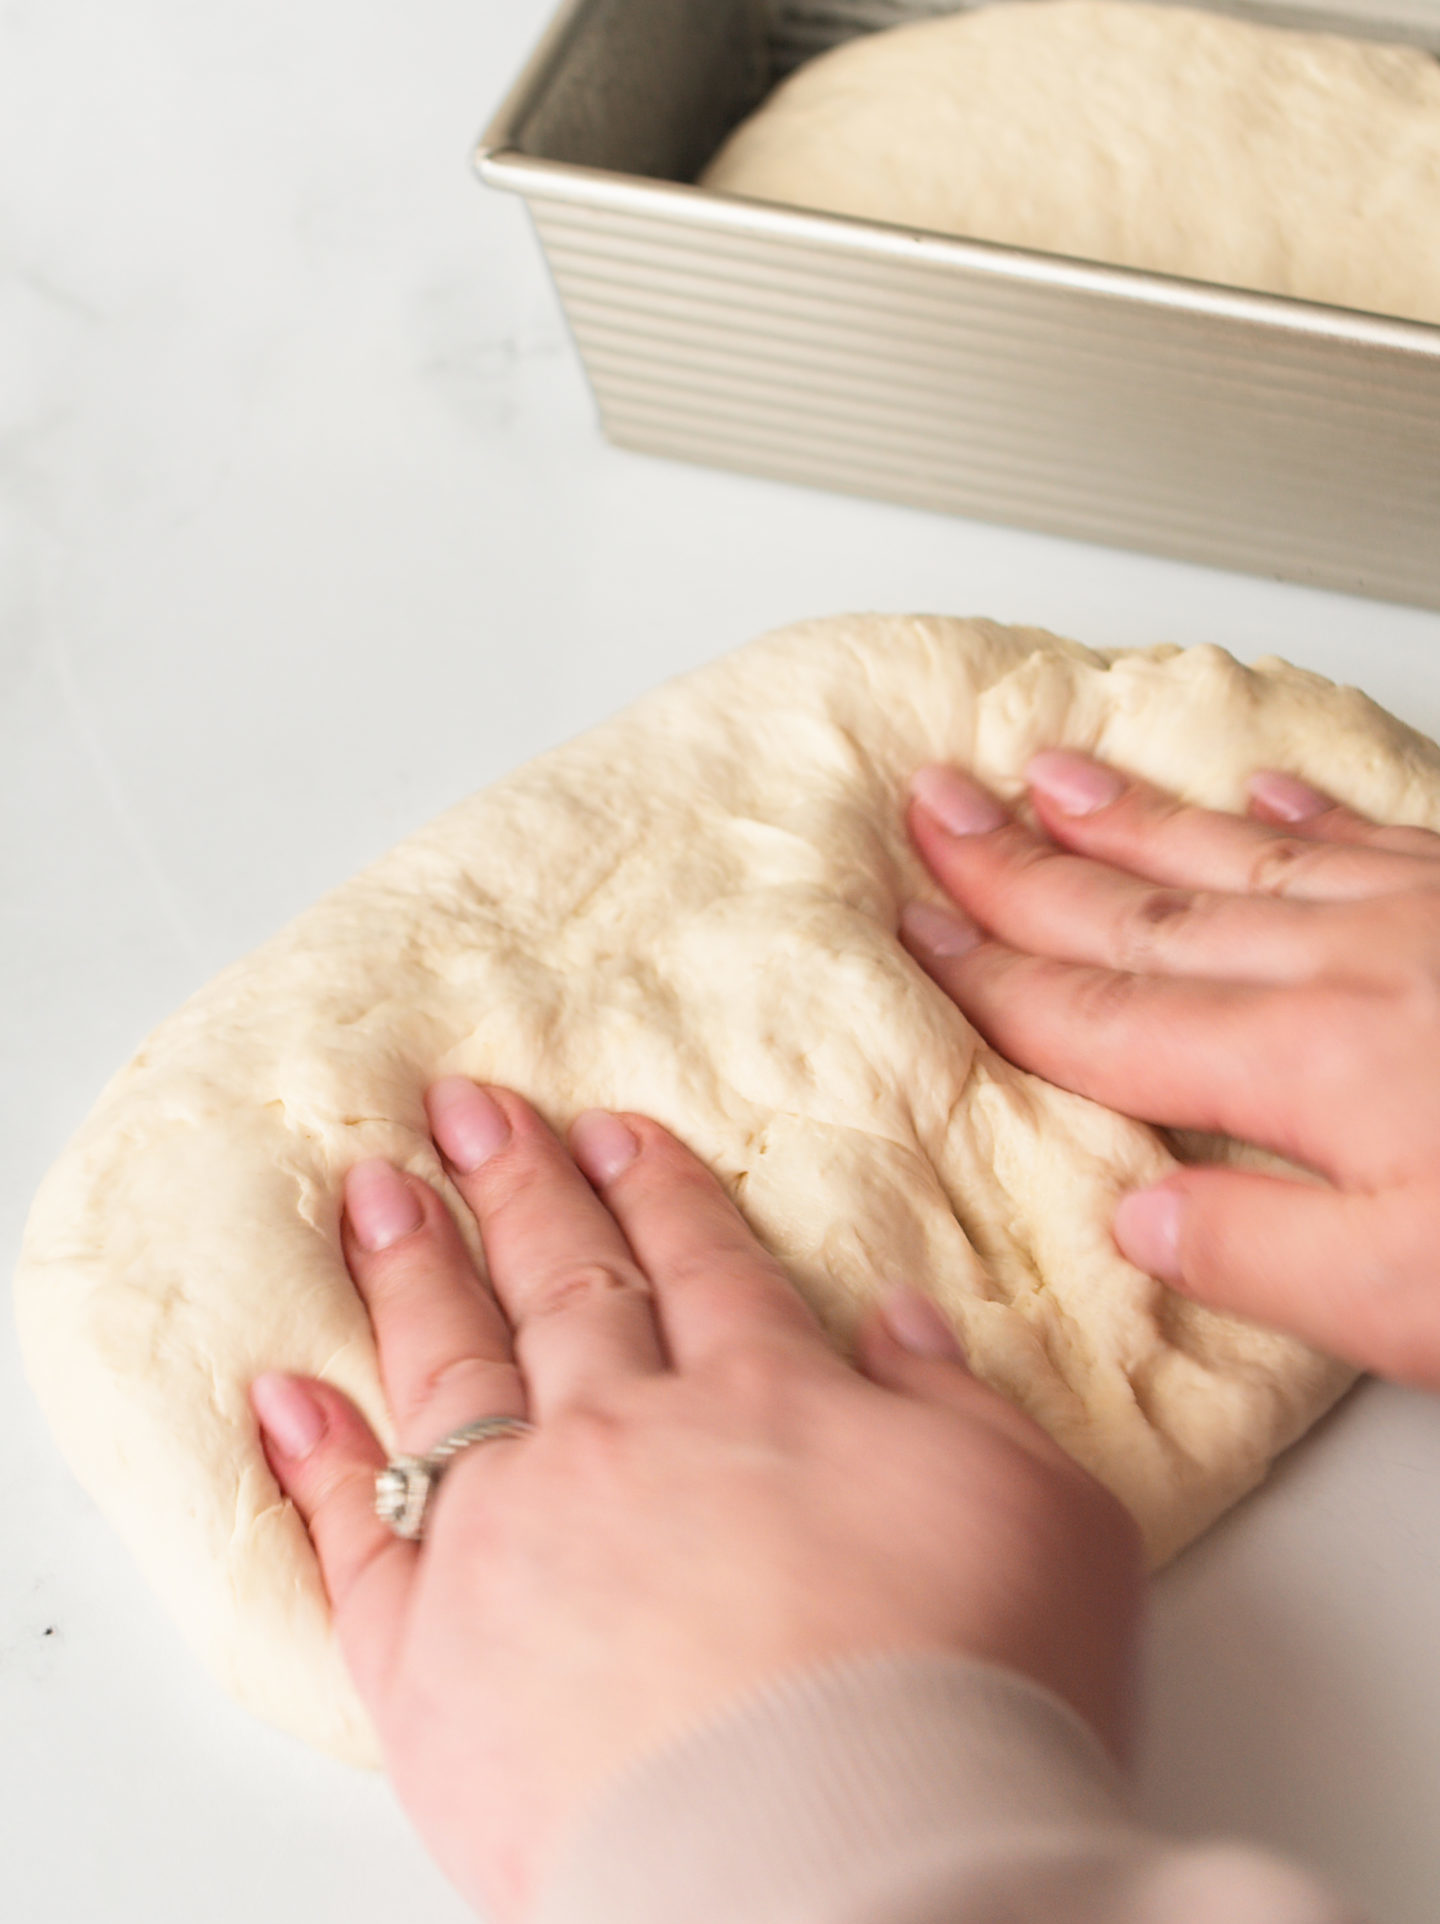
- Flip over so the smoother side is down. Working with one dough piece at a time, use your fingertips to gently flatten the dough into a rectangle, about the same width as the loaf tin.
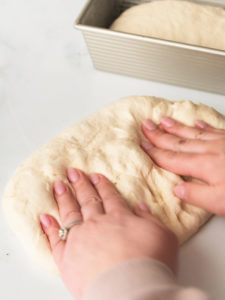
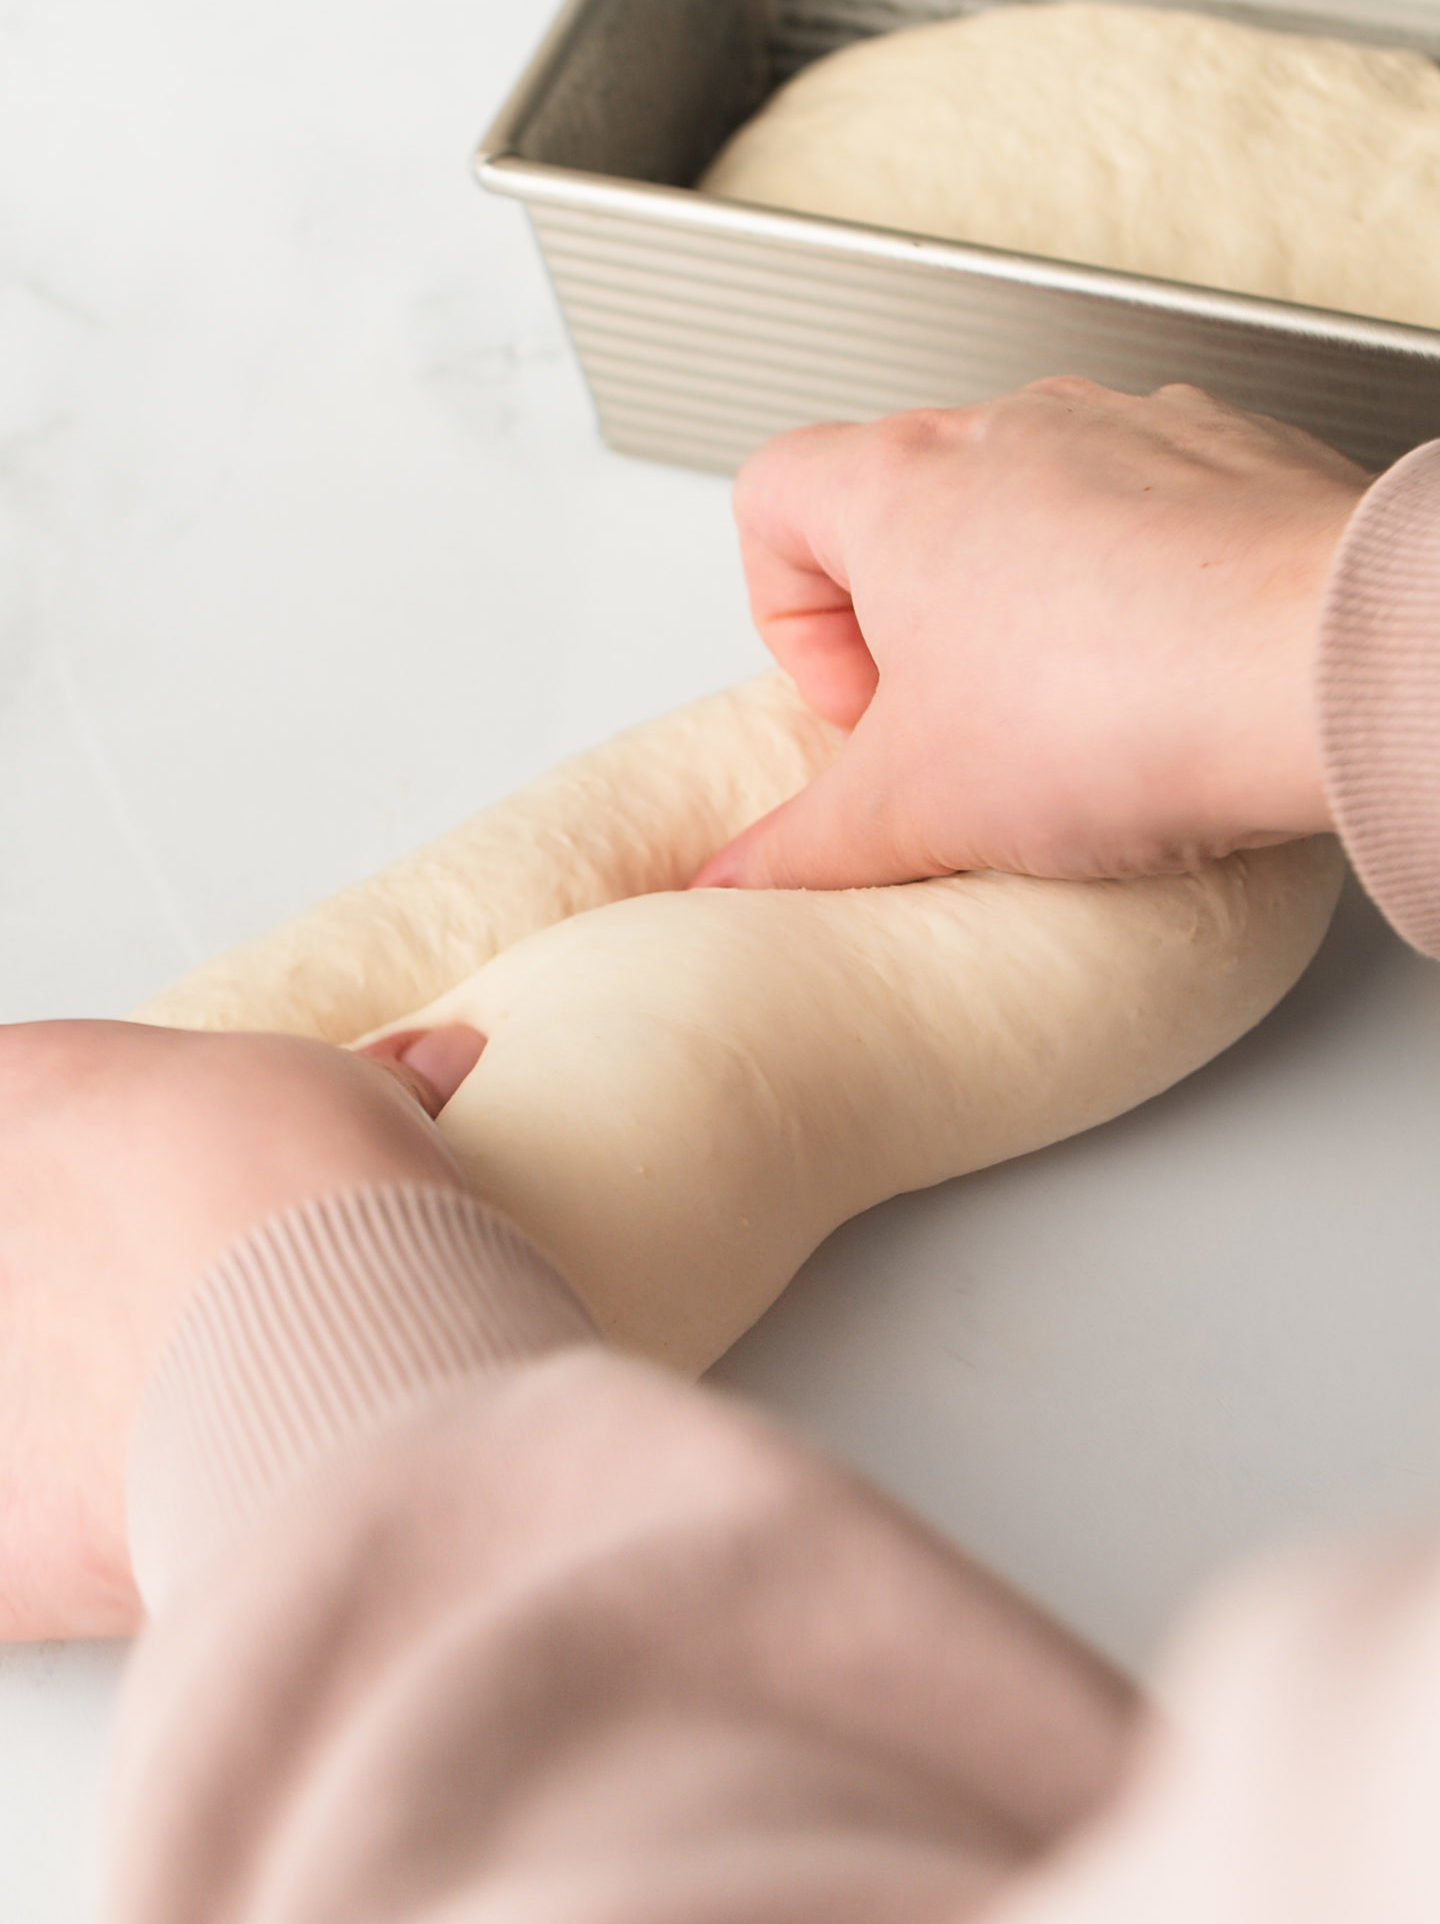
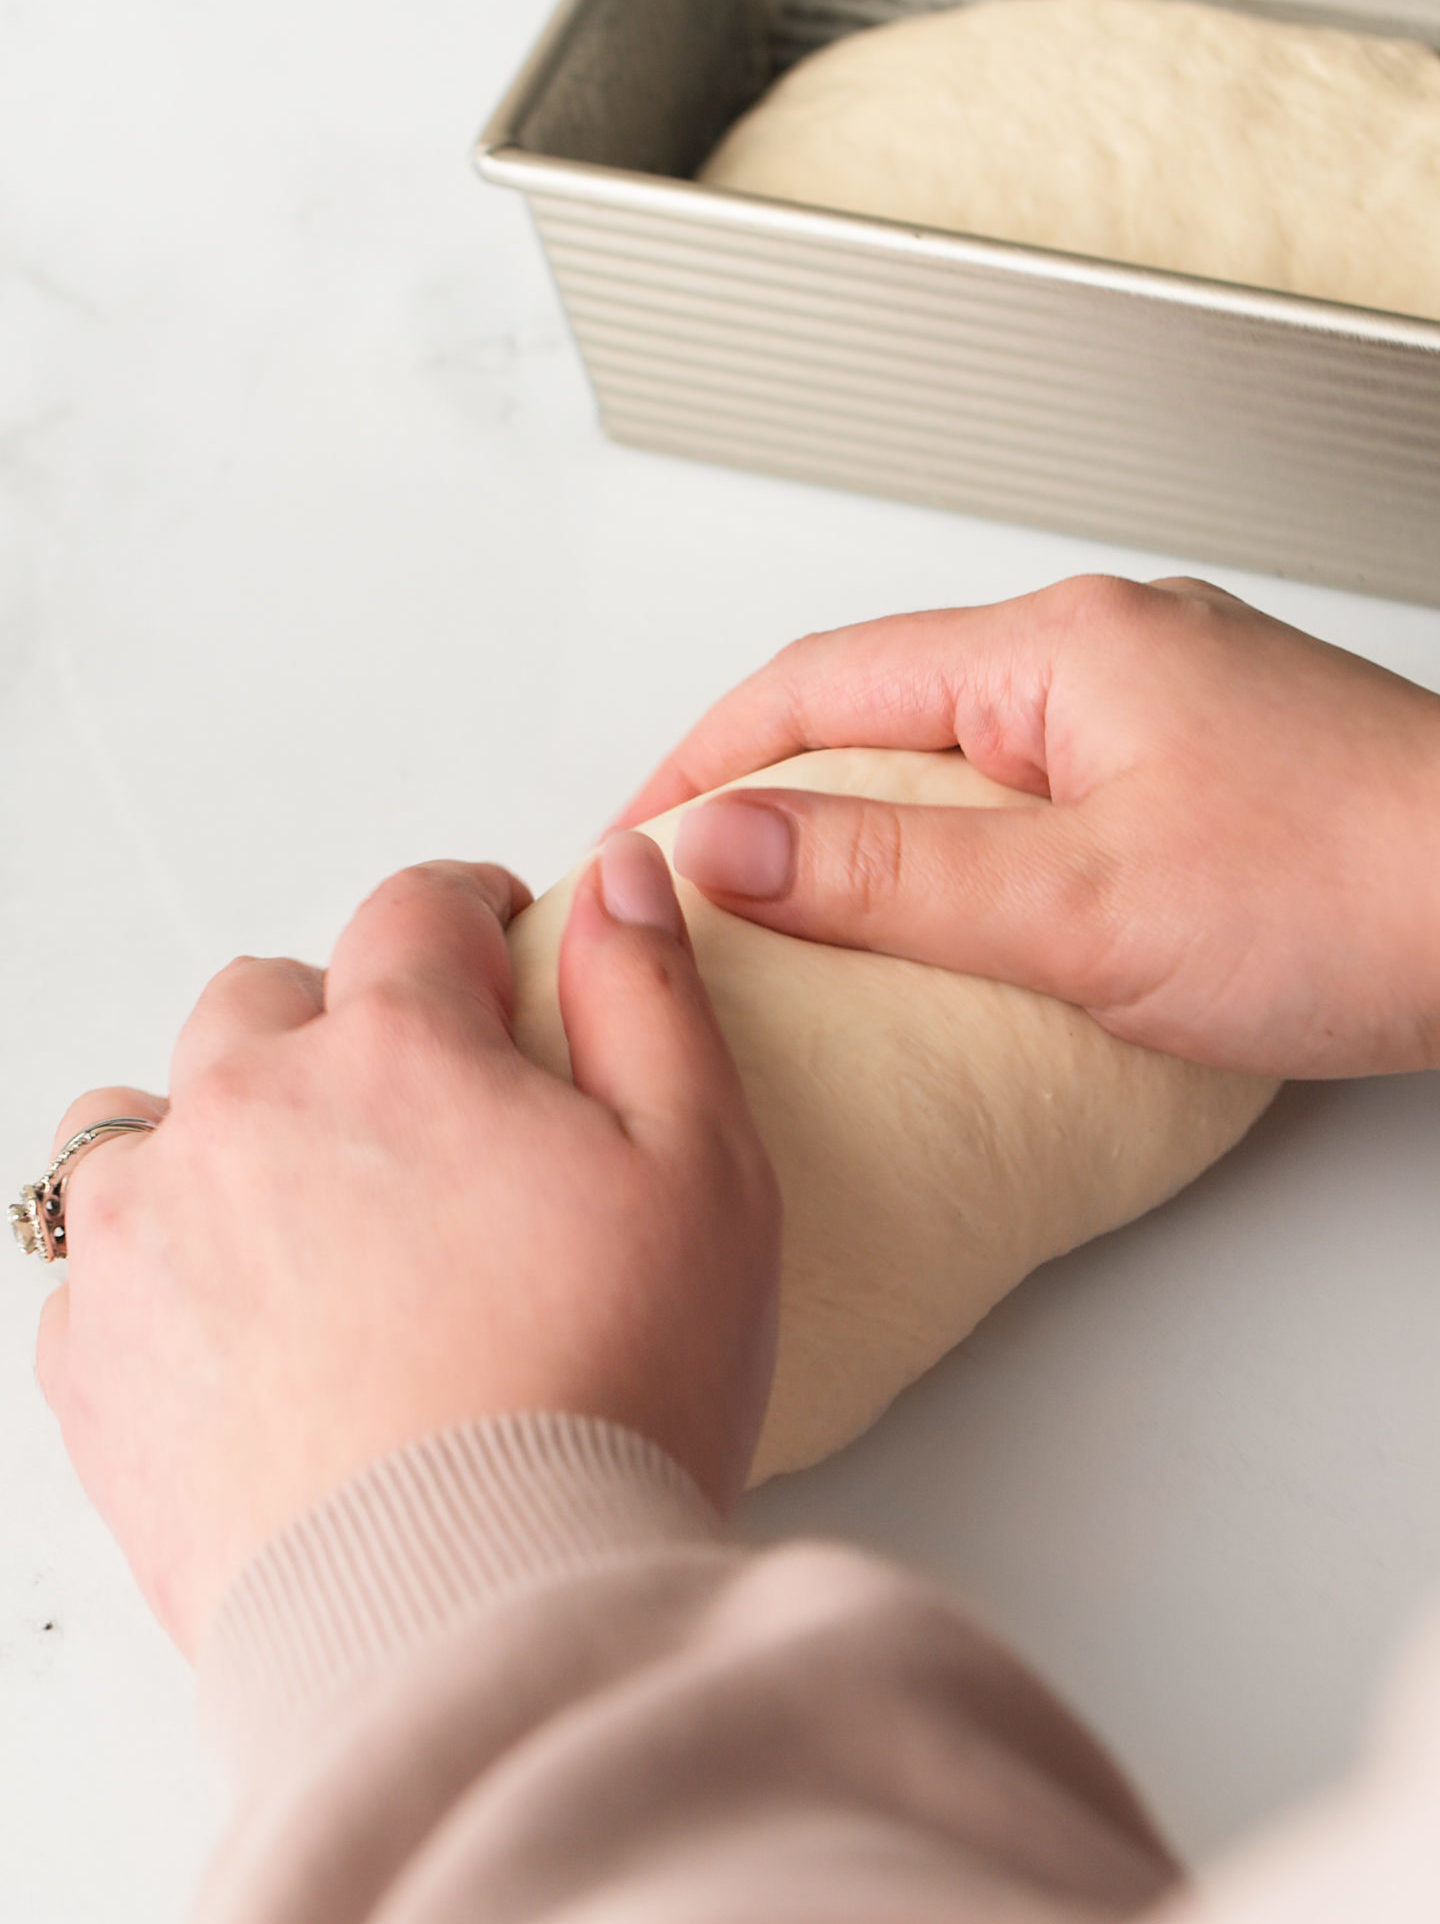
- Roll the portion closest to you up and away from you. Then, fold the sides towards the center and continue rolling away from you, forming into a small log shape. Use the resistance of the surface to pull the dough tightly together. Gently pinch a seal where the edges come together.
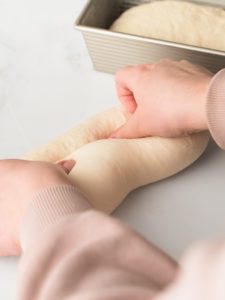
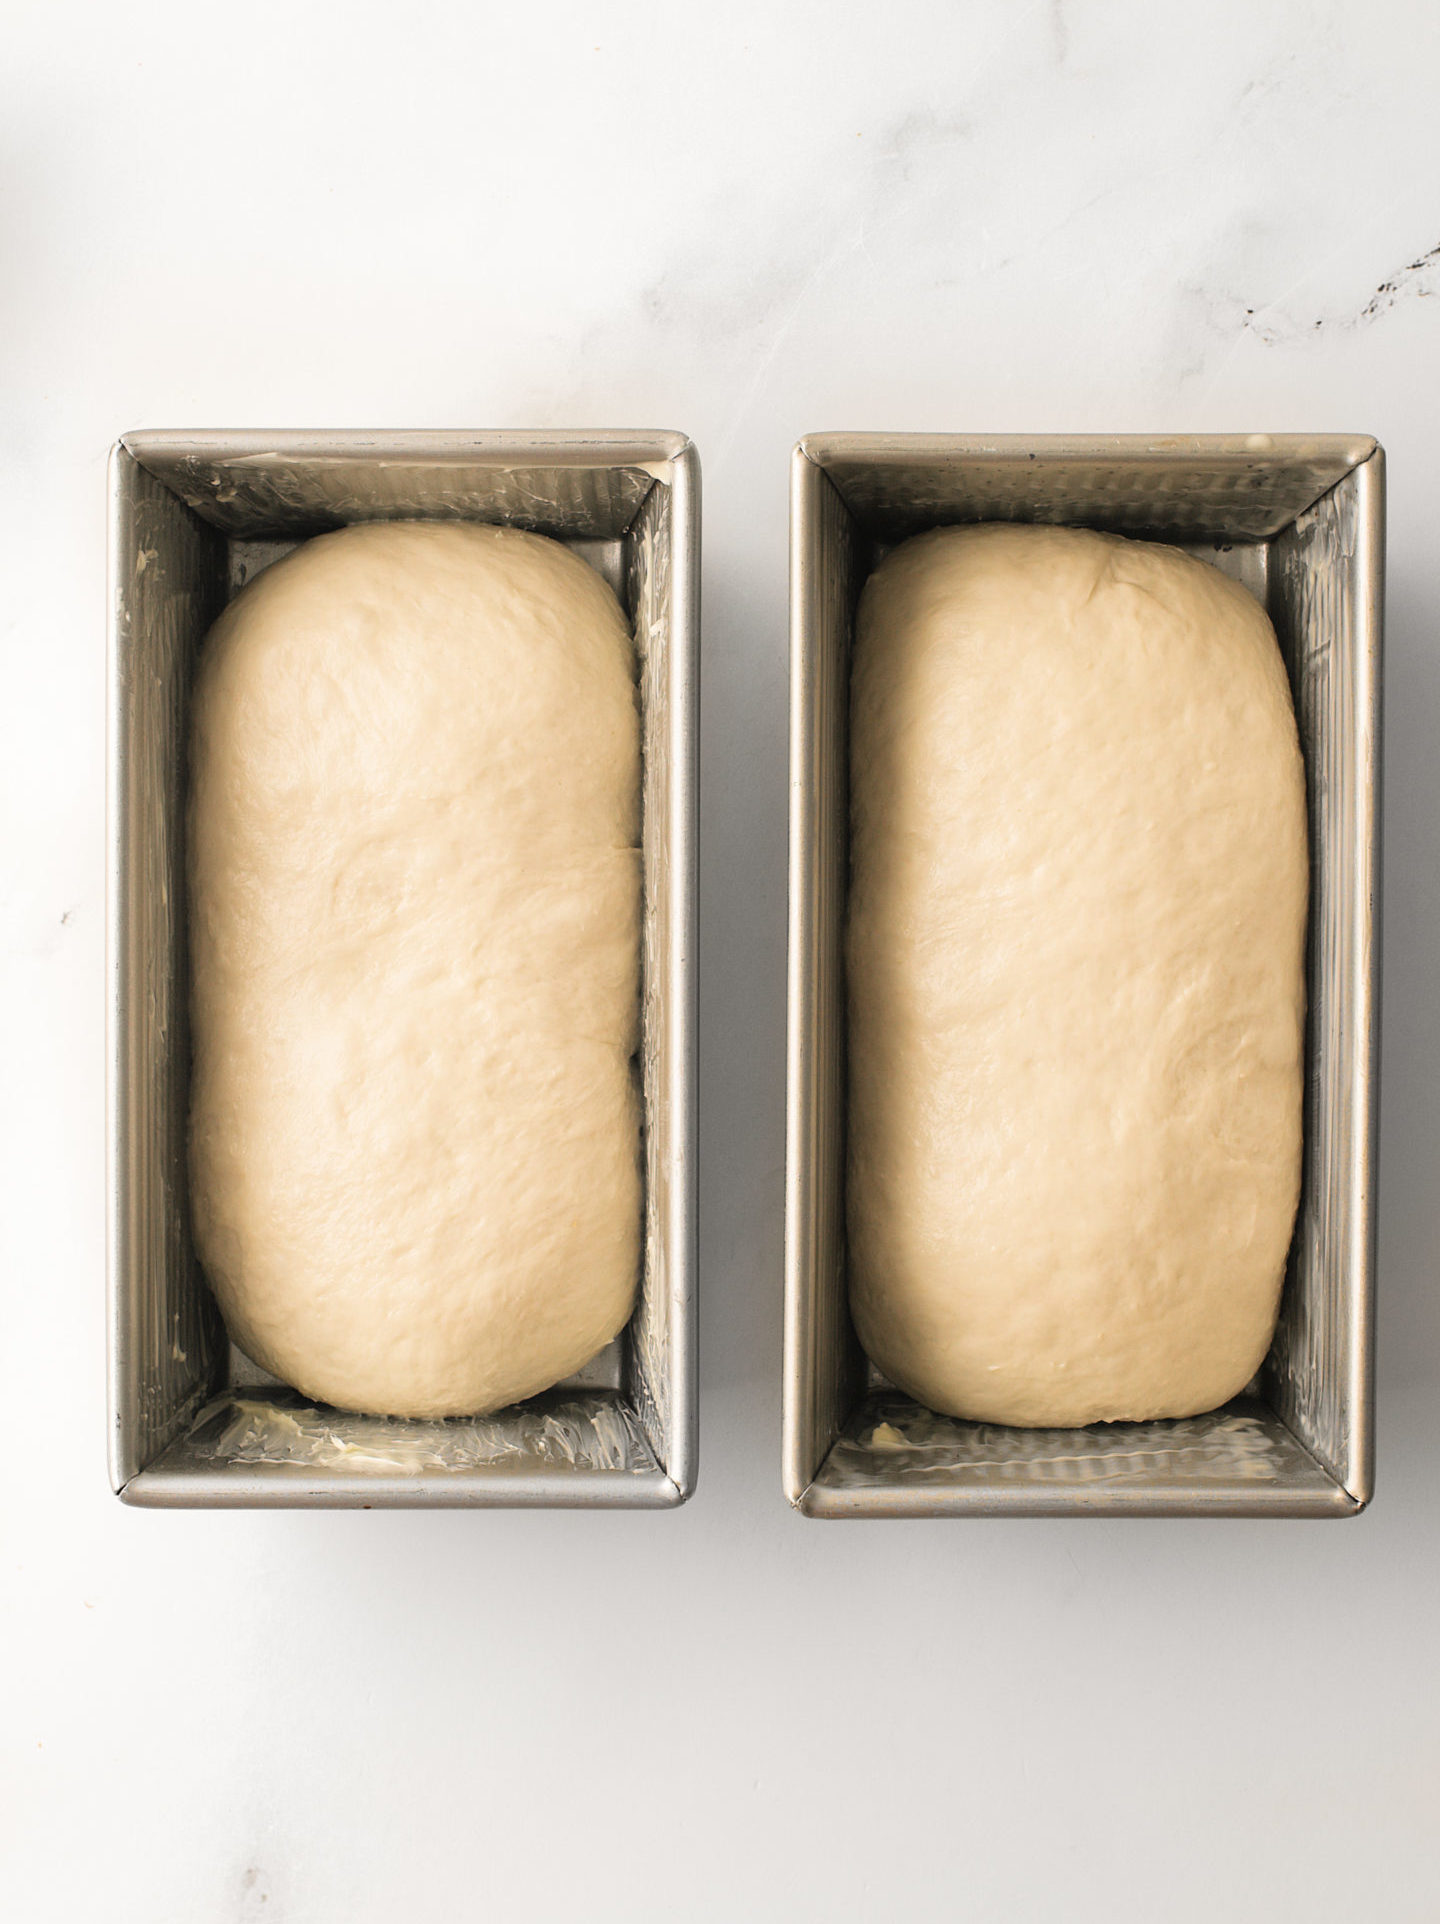
- Prepare each 1lb. loaf tin by spreading softened butter on the entire inside surface. Place each dough log into the greased loaf pan, seam side down. Gently press down the surface of the dough into the loaf tin to release any surface bubbles.1 Tablespoon unsalted butter
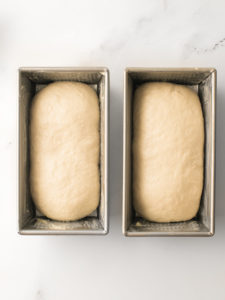
Second rise
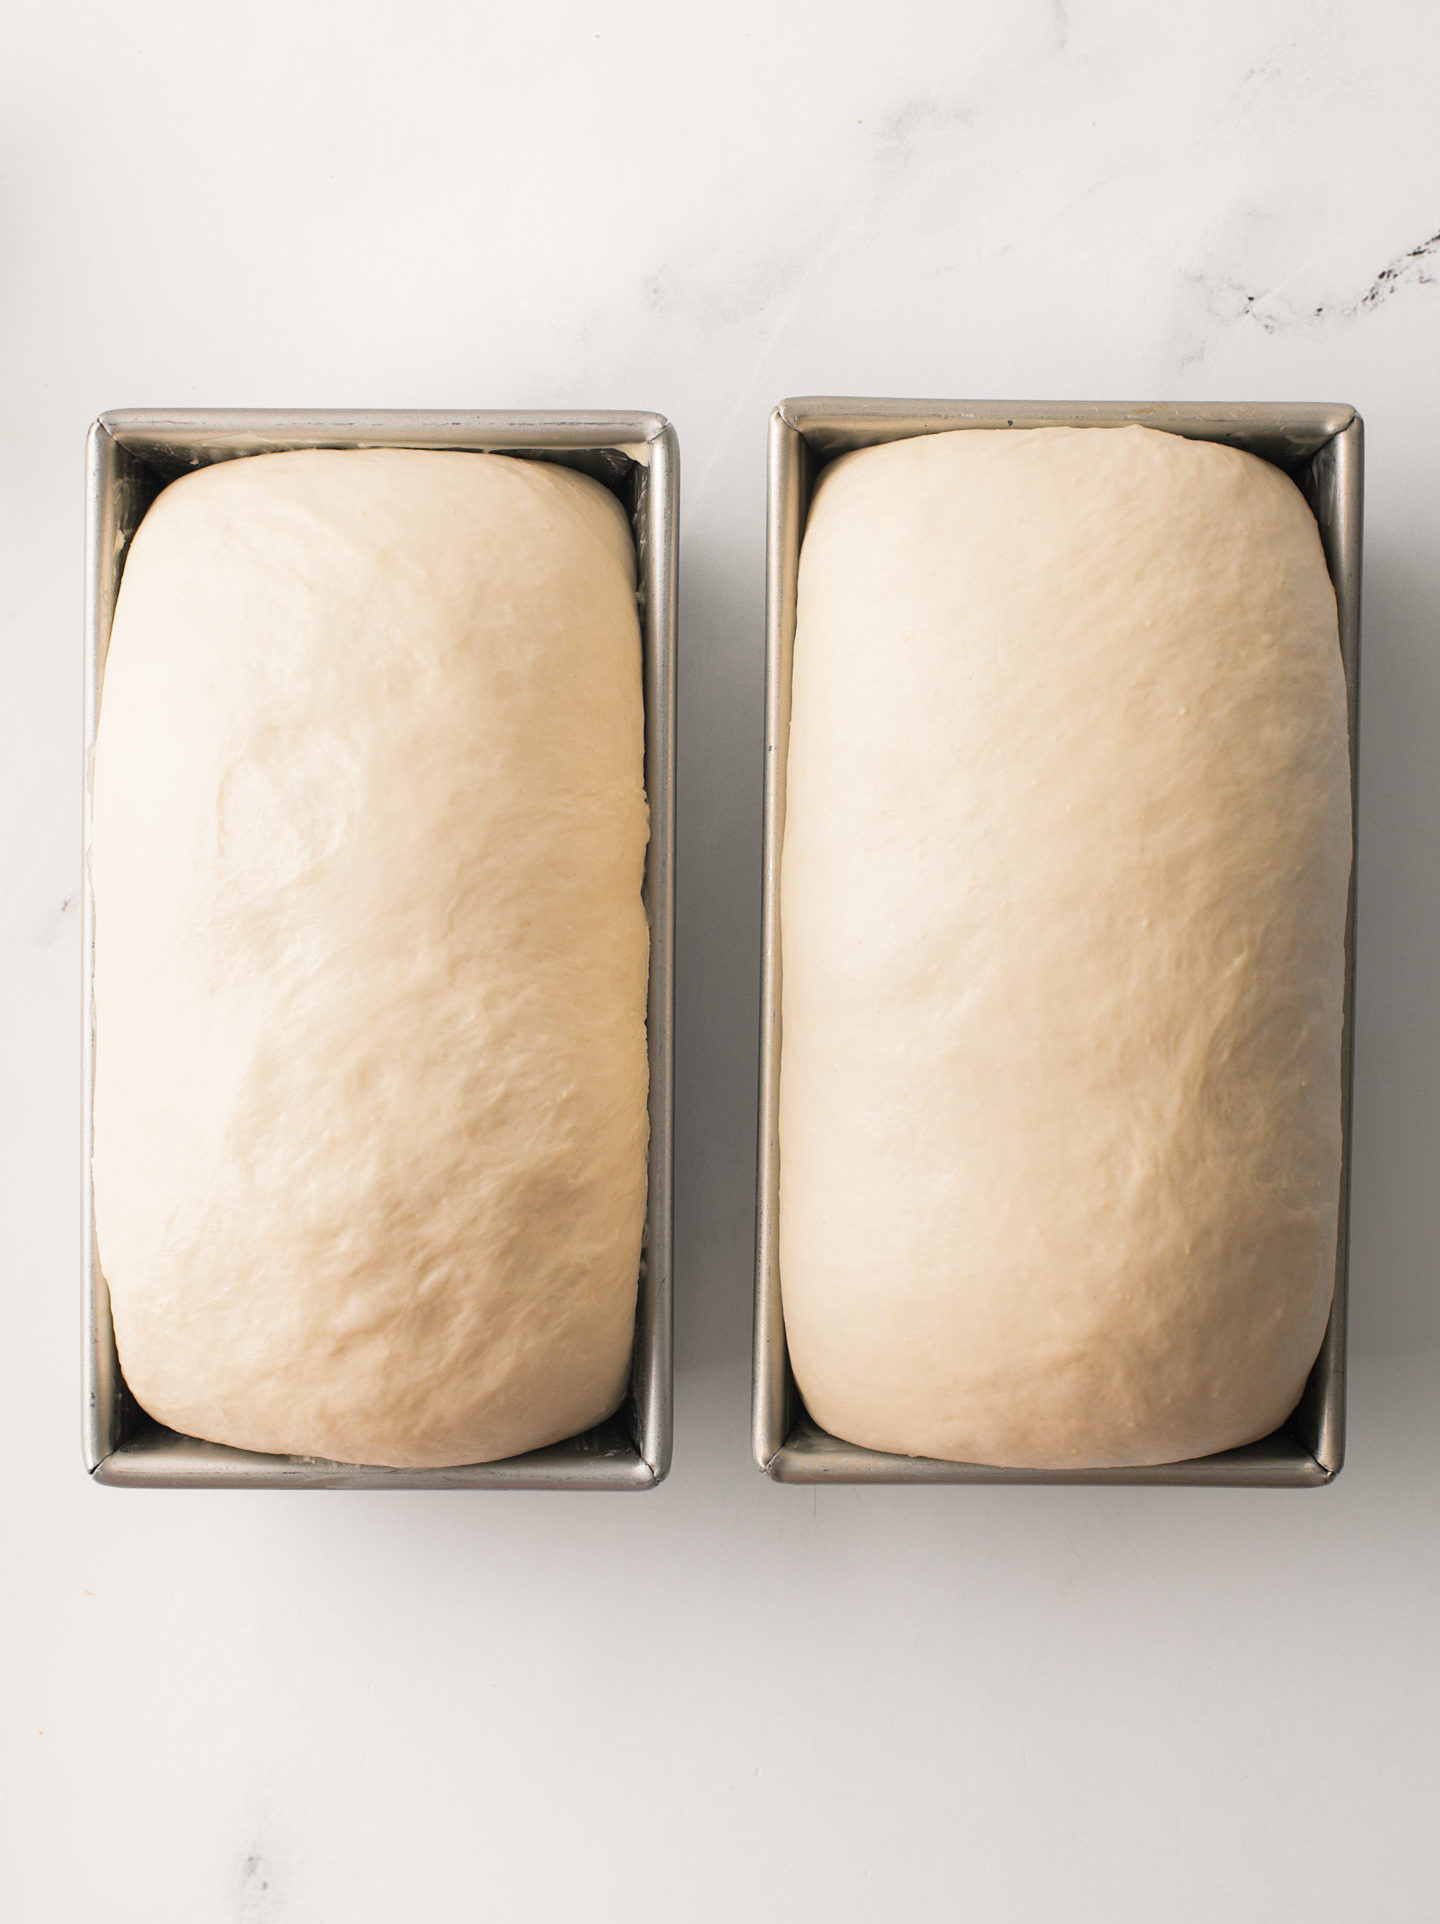
- Loosely cover the top of the dough in the prepared loaf pan with plastic wrap and let it rise for at least 40 minutes but up to one hour, depending on the temperature of the room. The dough will rise above the rim of the pan.Note: This second rise is called proofing. It occurs after the bread is shaped. This shorter rise allows the dough to develop a little more volume and improves the final structure.
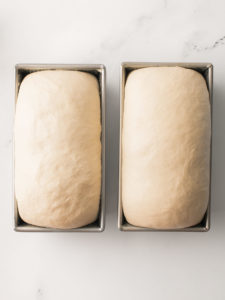
- While the dough is rising in the loaf tins, preheat the oven to 350°F / 176°C.
Bake
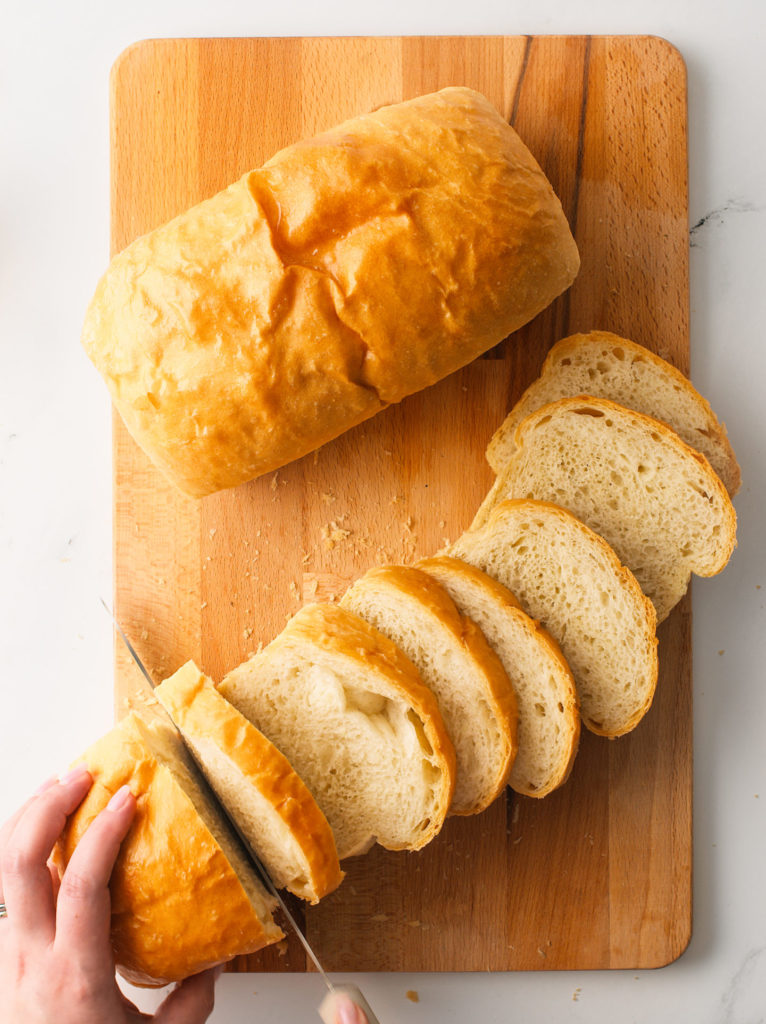
- Remove the plastic wrap and bake for 40-42 minutes until deeply, golden brown. Brush with melted butter over the tops of the loaves. You may also brush some honey for sweetness too. This helps keep the crust soft and adds a finishing touch. Leave the bread in the tin for at least 10 minutes, then transfer to a cooling rack.1 Tablespoon unsalted butter
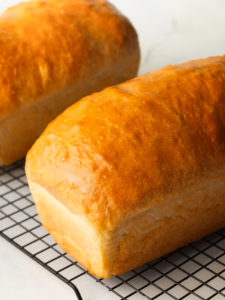
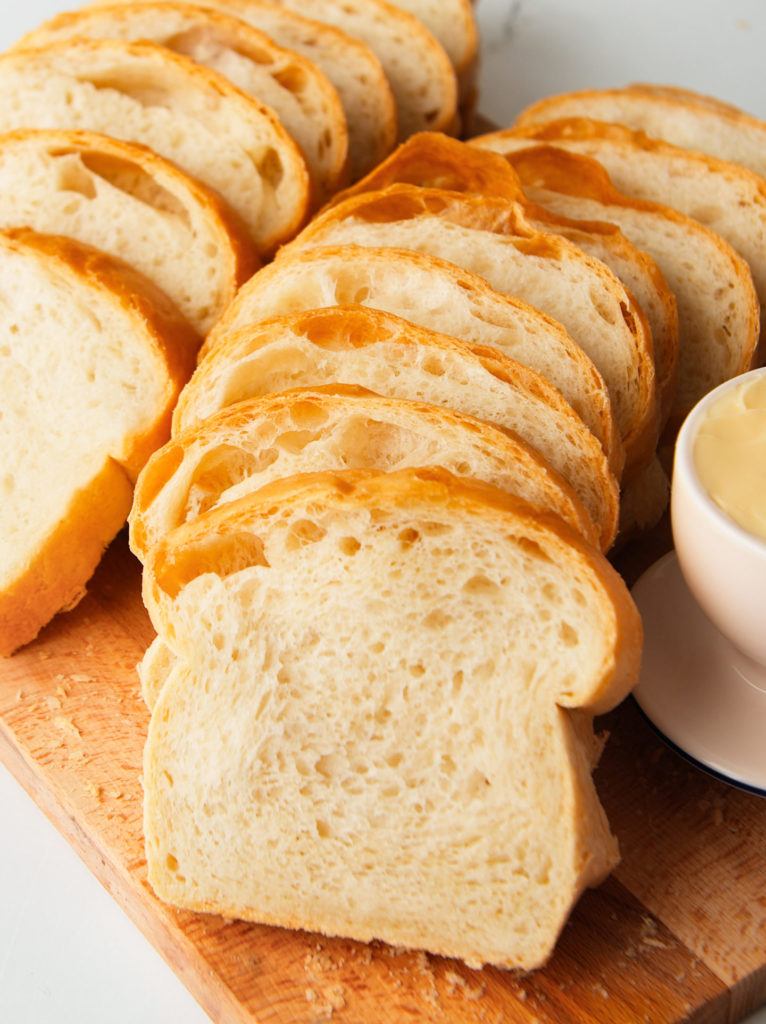
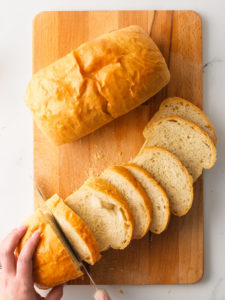
- This bread is very soft and fluffy. Slice when completely cool for best results and store leftovers at room temperature for up to 3 days.
Video
Notes
- Measure flour by weight in grams instead of cups. Shop my exact scale here. (affiliate link) If you don't have a scale, fluff the flour with a fork in its container, and then spoon it into the measuring cup before leveling off with a flat edge. Do not scoop directly into the flour bag. This will add way too much flour to the batter, making it dry!
- Store at room temperature: This bread is super soft, even the second day. Generally speaking, homemade bread doesn't last longer than a few days (yes, it's a short shelf life!) because it doesn't contain any preservatives. Store leftovers tightly closed in plastic wrap, a brown paper bag or Ziplock.
- Instant yeast can mixed directly with dry ingredients and active dry yeast must be dissolved in warm liquid first to be "activated" or proofed before use. First, heat up your milk or water until its lukewarm, about 110°F. Stir in the active yeast and a pinch of sugar. Let it sit for 5-10 minutes until its foamy or bubbly. For extended instructions, see Active Dry Yeast vs. Instant Dry Yeast blog post.
Nutrition
Calories: 257kcalCarbohydrates: 42gProtein: 7gFat: 6gSaturated Fat: 4gPolyunsaturated Fat: 1gMonounsaturated Fat: 2gTrans Fat: 0.2gCholesterol: 14mgSodium: 468mgPotassium: 76mgFiber: 2gSugar: 2gVitamin A: 164IUVitamin C: 0.02mgCalcium: 11mgIron: 1mg
The provided nutritional value above is an estimate per serving. 100% accuracy is not guarenteed. Please see Nutrition Information Disclaimer in our Privacy Policy.
Nutrition Information Disclaimer Have you tried this recipe?Please leave a comment/review below!




love your bread, way better than store bought for sure, I was wondering if I could freeze the dough and bake at a later date.
I suggest slicing the extra loaf and placing it in a freezer safe bag. It reheats well in the toaster. I have not tested this recipe putting the dough in the freezer. 🙂
Favorite bread recipe I’ve tried since starting to make my own sandwich bread! Came out so soft and the flavor is delightful!
Do have a question, since it’s only two of us eating, is the dough able to be frozen/kept in the fridge for any duration? Or do I just need to cut the recipe in half?
Turned out amazing! So appreciative of all the tips & the video of how to shape the loaf! This will definitely be a go-to recipe in our house!
Yay! Thank you Jamie!
This homemade sandwich bread is absolutely fantastic! Soft, fluffy, and perfectly balanced, it has that comforting, fresh-baked flavor that store-bought bread just can’t match.,golden and crisp ,crust is light and tender,you can really taste the care and quality that went into making it. It’s the kind of bread that makes even the simplest meal feel special.
Thank you for the lovely review, Doris! It’s one of our favorite bread recipes and we are happy to see you’re enjoying it too.
Would I be able to use salted butter instead of unsalted?
Hi Tony, yes you can use salted butter instead of unsalted. I would reduce the salt quantity in the recipe from 3 teaspoons to 2. Happy baking!
So easy and yummy!
This looks so beautiful! Thank you for sharing your photo and lovely review. 🙂
Love this! So easy and delicious!
Thank you! 🙂
Hi! If I cut the recipe in half to make just one loaf, do I still let it proof for the same times? Or should I cut the proofing time in half as well?
Hi Naomi! The proofing times stay the same. 🙂
This sandwich bread recipe looks perfect, I love how soft and fluffy the loaf looks—exactly what I’m looking for in a homemade sandwich bread. The step-by-step instructions are clear and easy to follow, which makes me feel confident about giving it a try. Can’t wait to bake this and enjoy some fresh sandwiches! Thanks for sharing.
Thank you for the lovely review, Supriya! We’re so happy you enjoyed our recipe.
Great recipe! I’ve been using the focaccia recipe for a while and it never fails but this one really impressed me because I put everything in the bread maker and let it go. First I made the sandwich bread then I made burger and hot dog buns not changing a thing except the shaping.
Sounds amazing! We appreciate your trust in our recipes.
I’m lactose intolerant. Have you ever tested this with Ghee?
Hi Catie, I’m sorry I’ve not tested this recipe with Ghee. Butter is about 80% fat with some water and milk solids versus Ghee which is 100% fat – as a result, substituting may yield in a richer texture but also slightly greasy dough. Butter also contains water which adds moisture to the dough. Using ghee might result in a denser crumb. You will need to slightly adjust the water quantity. I hope this helps!
Hey Patricia, love your recipes and agree with your suggestion to weigh ingredients for accuracy. Is it possible to add the grams per ingredient to your recipes?
Hi Brett! Thank you for your question. The unit in grams is already available for all recipes. You can toggle between the US Customary and Metric units at the top of the ingredients section. Let me know if this helps. 🙂
***Hand hits forehead***
Thank you!
No problem!
I’ve just made this sandwich bread recipe & it is now one of my top 3 go-to sandwich bread recipes! I made it as is, no tweaks, she did a fantastic job testing & getting a delicious outcome. Highly recommend giving this a try!
Thank you so much, Brit!! We love to hear these kind of reviews. 🙂
My bread never rises like the photos. I measure by weight. I don’t think I’m over kneading. I’m proofing the exact amount of time in the recipe.. What am I doing wrong? Could I be not kneading enough? I find a lot of conflicting info online. I put the dough to rise in our laundry room, where there’s no air conditioning. And, the temps where I live have been anywhere from 80-103 degrees outside. Could that be it? It’s over proofing? The bread tastes great, and it’s soft! I just want the big, fluffy loaves!
Hi Renea, thank you so much for your comment/question. I’d love to troubleshoot with you. Based on your comment, I can infer the bread is most likely over-proofed from the heat or the yeast is not as optimally fresh as you’d like. I have a blog post about it in my Novice to Expert section all about yeast. The ideal environment for bread to rise is in a warm spot, around 70°F to 80°F / 21°C to 26°C. If you can’t adjust the temperature, adjust the time. Depending on the warmth of the room, it may take more or less time for the dough to rise. Always keep an eye on the overall growth. “Doubled in size” is the best indication for the next steps! Here’s what I suggest you do: next time you make this recipe, place the bowl of dough (wrapped loosely with plastic wrap and a tea towel on top) inside the oven with the door closed. Of course, the oven needs to be turned off. A microwave works well too. The small enclosed environment is generally warmer and does the trick. I hope this helps and please let me know how it goes next time. 🙂
Wow!!!! Perfection is what this bread is. Came out so soft and so tasty! It was hard to not eat a whole loaf soon as the bread cooled down. I ended up making mine in cast iron loaf pans and just reduced baking time by 5 mins. Came out Perfect! Will be using this recipe for years to come!
Thank you so much for such a lovely review! This sandwich bread is one of our favorites too! So happy to hear your family enjoyed it. 🙂
I’ve made this bread over a dozen times and it’s turned out perfect each time! Store bought sliced bread doesn’t compare!!!! Simple ingredients, fresh and a winner in our house!
Thank you, Raluca! It’s nice to know our bread recipes have made their way around your table. 🙂
We’ve made this loaf MULTIPLE times and it comes out perfect every time. Its sooooo incredibly soft but also holds its structure for a hefty sandwich! Beginner or novice, you will adore this loaf!!
Hi Alisha, thank you for such a lovely review! 🙂 We’re happy you enjoyed our sandwich bread so much! I’m working on a sweet version, so stay tuned.
Hi Patricia!
I try to make this bread, but I couldn’t… the dough was kind of dry, I used the 2 cup of liquid one cup of milk and one cup of water… maybe because I used wheat flour I think is same of All purpose flour??. Where I live is not common the bread flour.
Hi Natalia, so sorry to hear this! Did you use a scale to measure the flour? We have found that extra flour is usually the culprit when it comes to bread recipes. You should be able to easily use wheat or all-purpose flour with my recipe. We hope you try again!
The BEST bread recipe I have tried so far! I have tried a few bread recipes. Some have come out so so and others have been total fails. This recipe comes out perfect every time! Bread comes out fluffy and delicious.
Hi Gabrielle! Thanks so much for the lovely review. We’re so happy you found delicious success in our recipe. 🙂
Amazing bread recipe!
Thank you, Naomi! It’s a weekly staple in our home.
Wonderful recipe.. so reliable and yummy! Thank you so much. I love making all your bread! I was wondering if I can make this recipe the same but in a 2lb loaf tin instead of 2 smaller loaves and if you had any hints on any change I might need with proving or baking time or temperature? Thank you so much. Your recipe are a joy!
Hi Shirley, thank you for the lovely review! 🙂 I would suggest increasing the temperature by 25 degrees. Bake time may be a little shorter but not by much. As long as the tops are deep, golden brown, I would say anywhere between 38-45 minutes, depending on the strength of your oven. I hope this helps!
Irresistible and beautiful recipe. It doesn’t get better than this.
Thank you, Flora! 🙂
The sandwich bread is amazing! It turned out so soft and fluffy.
Many thanks to Patricia for sharing the recipe with us.
Thank you, Agneta! Happy baking! 🙂
This bread was amazing! We all loved it! So soft and fluffy!
Thank you, Tabitha! We’re so glad you all enjoyed it! 🙂
Hi, can you half the recipe to make just one loaf?
Hi Lily, I have not personally tried to half the recipe but I don’t see why it wouldn’t work. It should be just fine! Please let me know if you do. 🙂
This bread is so soft and good. My kids eat one loaf easy!
That’s so great! We love hearing that! 🙂
Hi is it possible to reduce the amount of honey, or even leave it out altogether? Thank you
Hi Janice! You may decrease to 1 Tablespoon. The honey helps achieve the golden color, gives extra boost of “food” for the yeast and adds an overall pleasant, subtle flavor. I do not suggest leaving it out altogether. I hope this helps. 🙂
I made this recipe today and I am so happy with how mine turned out!! Wow, so easy to follow and looks as good as yours!
Yay! This makes us so happy! 🙂
This recipe is amazing! Thank you!
Thank you, Naomi!